Adjustable Tenon Jig
I’m in the middle of converting an old barn shed into my workshop and it is time to replace the old janky doors with a proper set of shop doors. Since these will be exterior doors I want them to last. I plan to joint them using mortise & tenons and to that end, I need a tenoning jig.
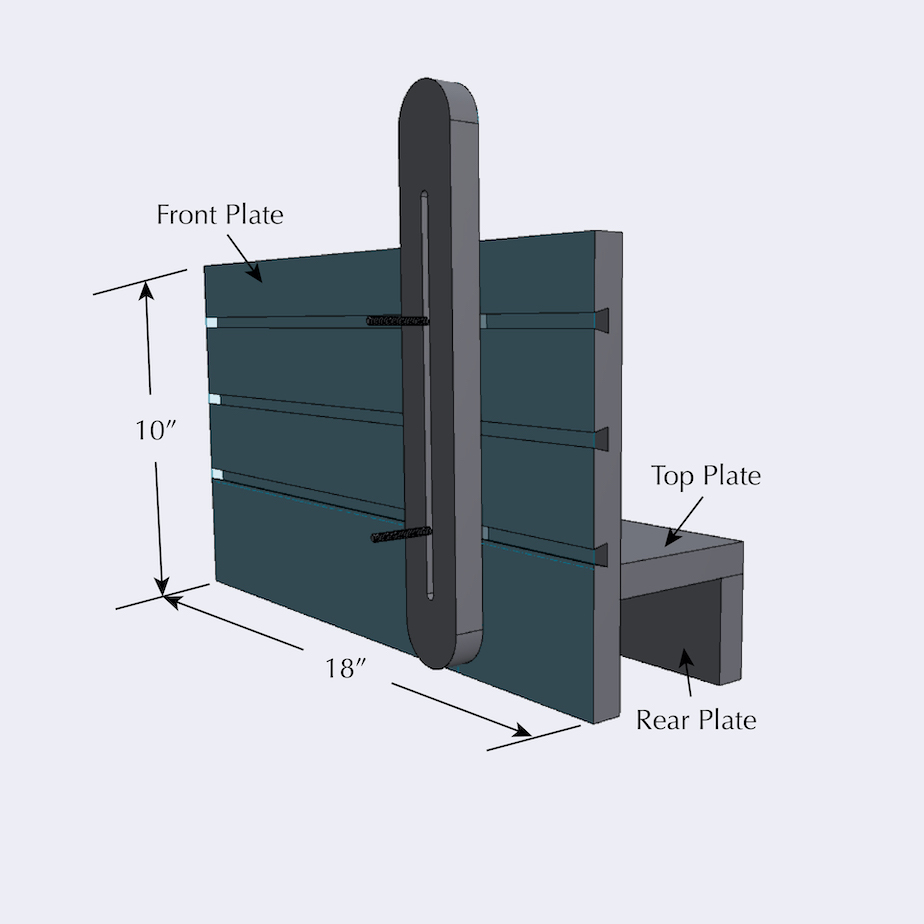
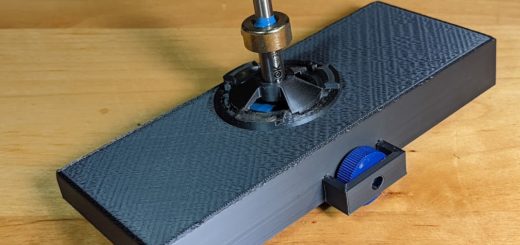
The door joints will be cut at 90º but for future work I want a jig with an adjustable fence to cut tenons at any angle, hence the design above. This jig will fit over a table saw fence and slide along it. The two support plates are 18″ long and cut to width (Those dimensions will vary from saw to saw.) The front plate is 18″ long x 10″ tall. The fence is 13-1/4″ long, 2″ wide, and has a 1/4″ slot cut in the center, beginning at 2-1/2″ from either end. All of the pieces were cut from a scrap piece of 3/4″ MDF. 3/4″ birch plywood would also be stable enough for this jig.
The plates were assembled with wood screws after drilling and counter sinking holes to prevent the MDF from splitting. I didn’t use any glue as MDF doesn’t accept it well. Be sure to check that the front plate is perfectly square to the table top during assembly. Finally, after all pieces are assembled, make sure the jig slides along the saw fence with no slop, with minimal pushing effort. I discovered that my top plate was just a little too narrow after tightening the screws and I ended up adding shims made out of a piece of paper to get the fit just perfect.
I added three 1/2″ wide, 3/8″ deep horizontal dovetail slots in order to use hold-down clamps that are often used in T-tracks and saw guide tracks. The edges of the clamps are tapered and fit perfectly in the standard 14º dovetail profile. Cutting T-slots would have worked just as well, but I didn’t have a router bit to cut them.
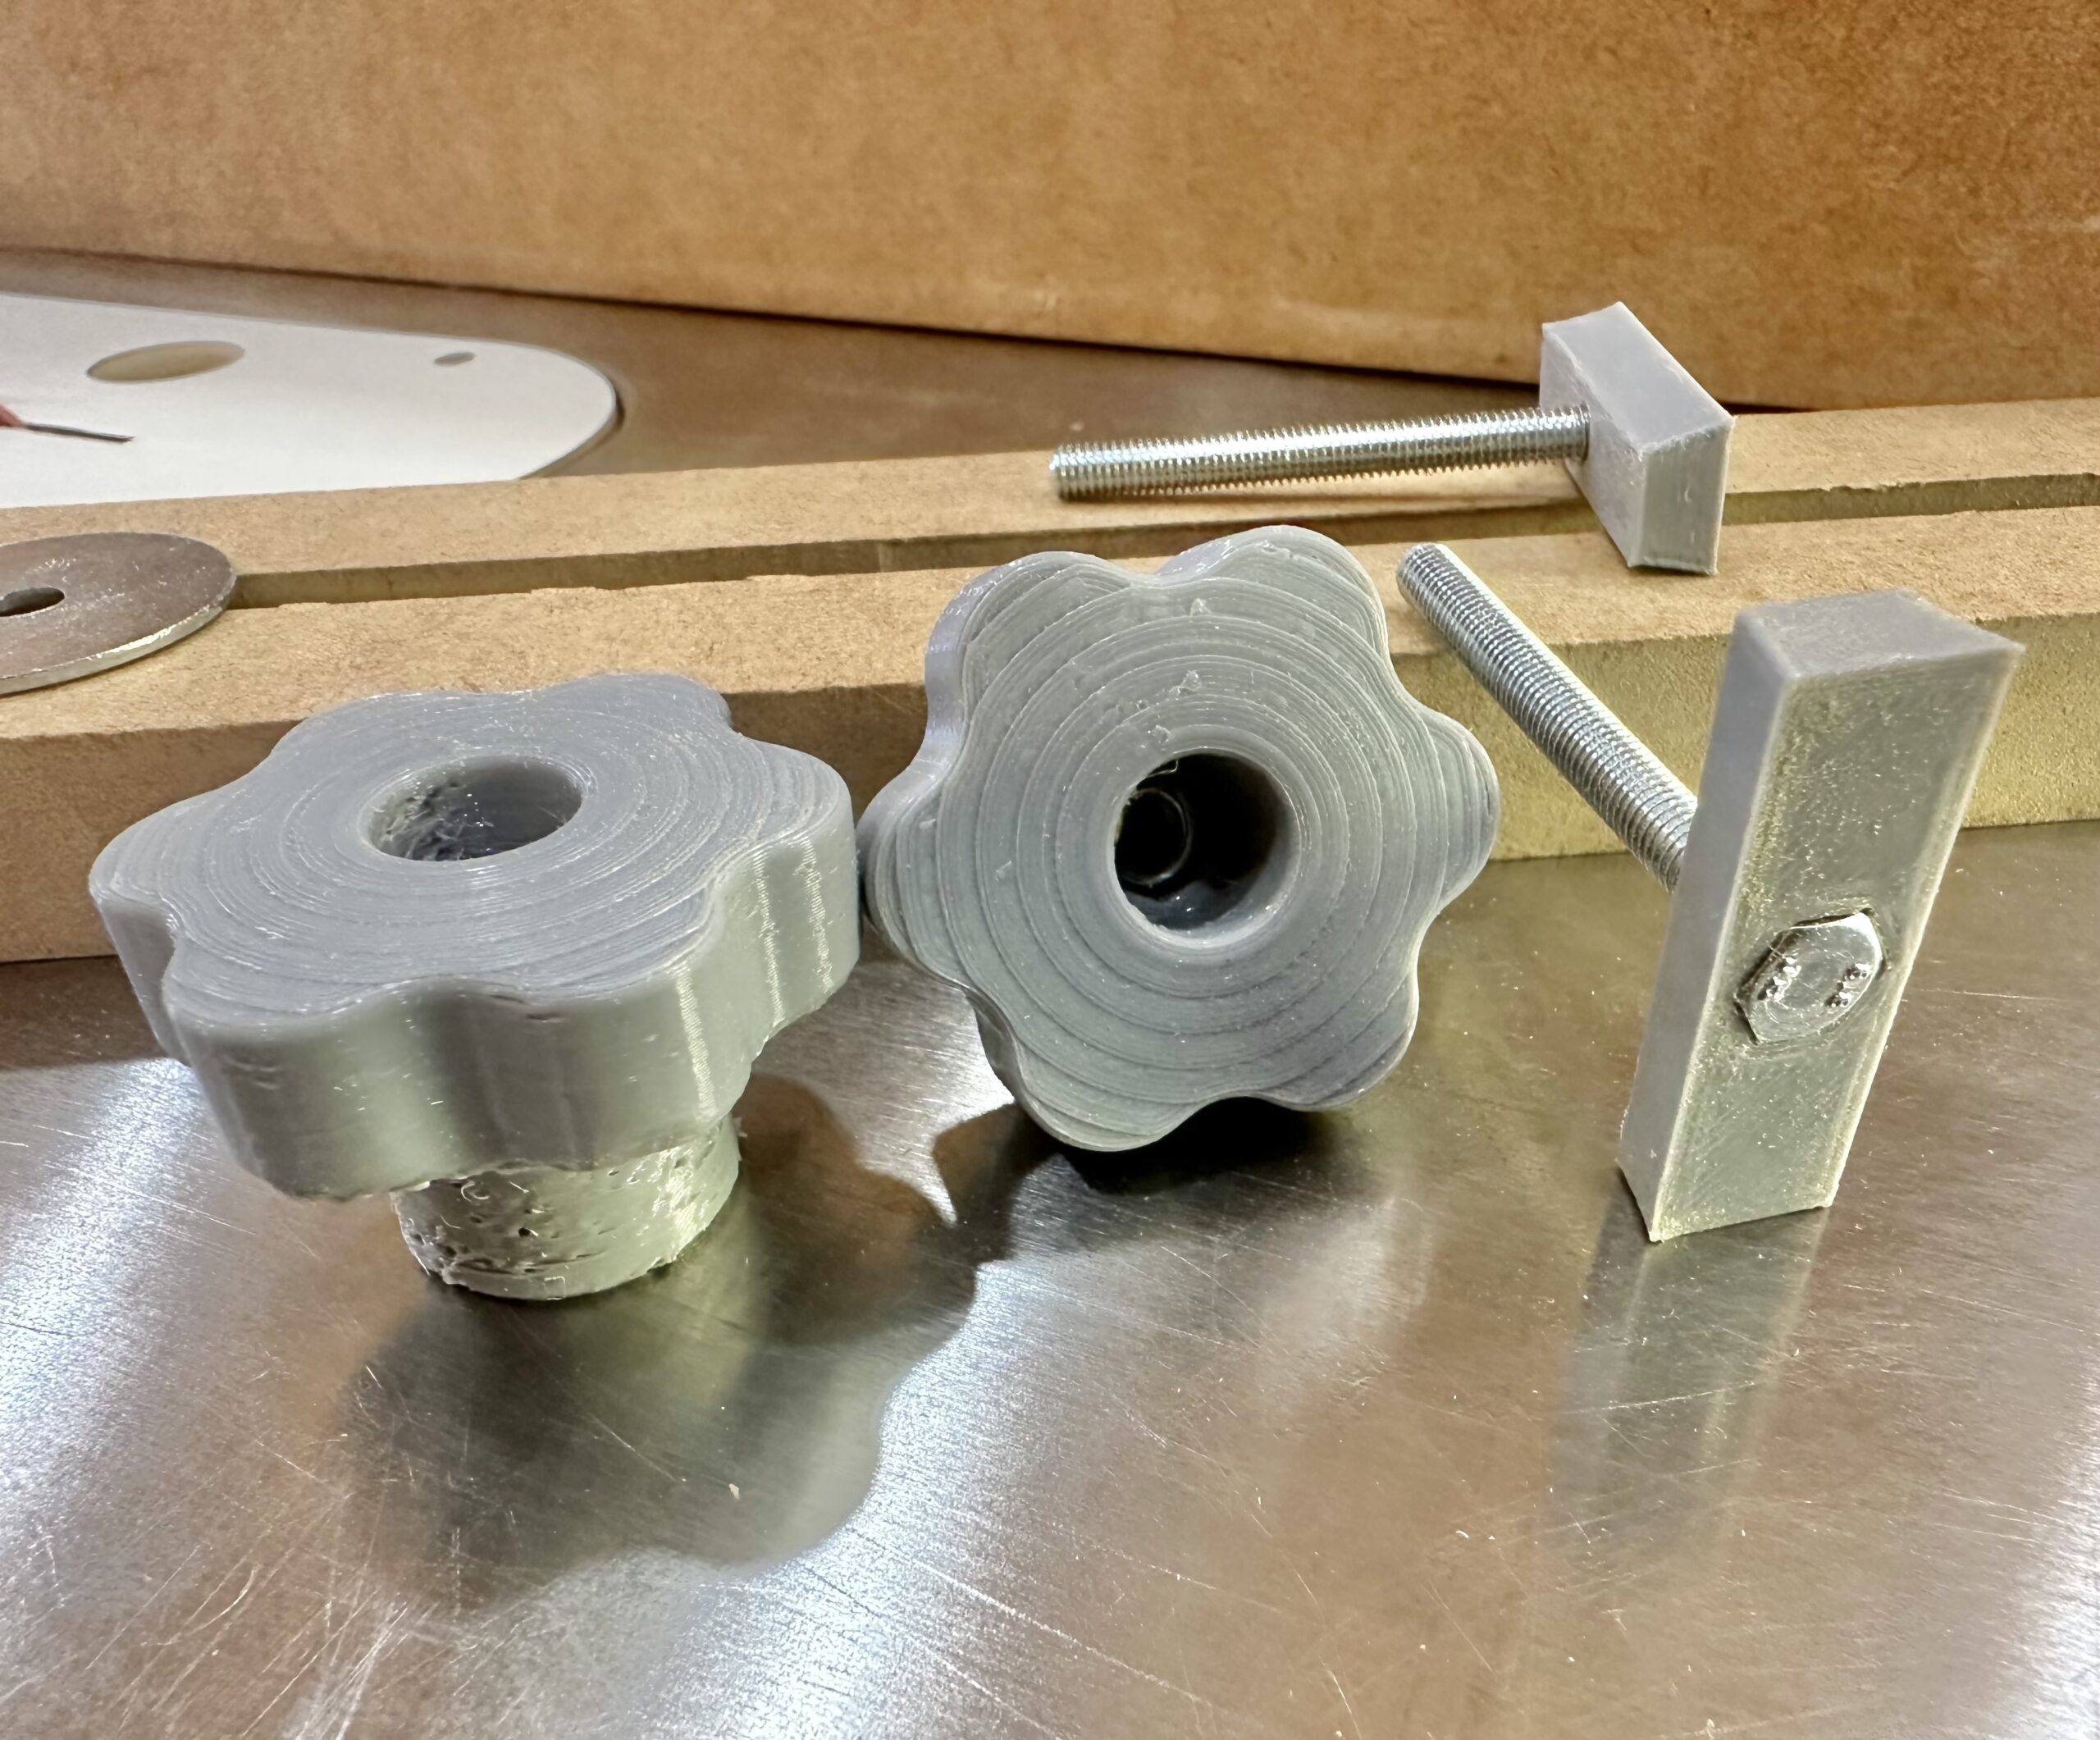
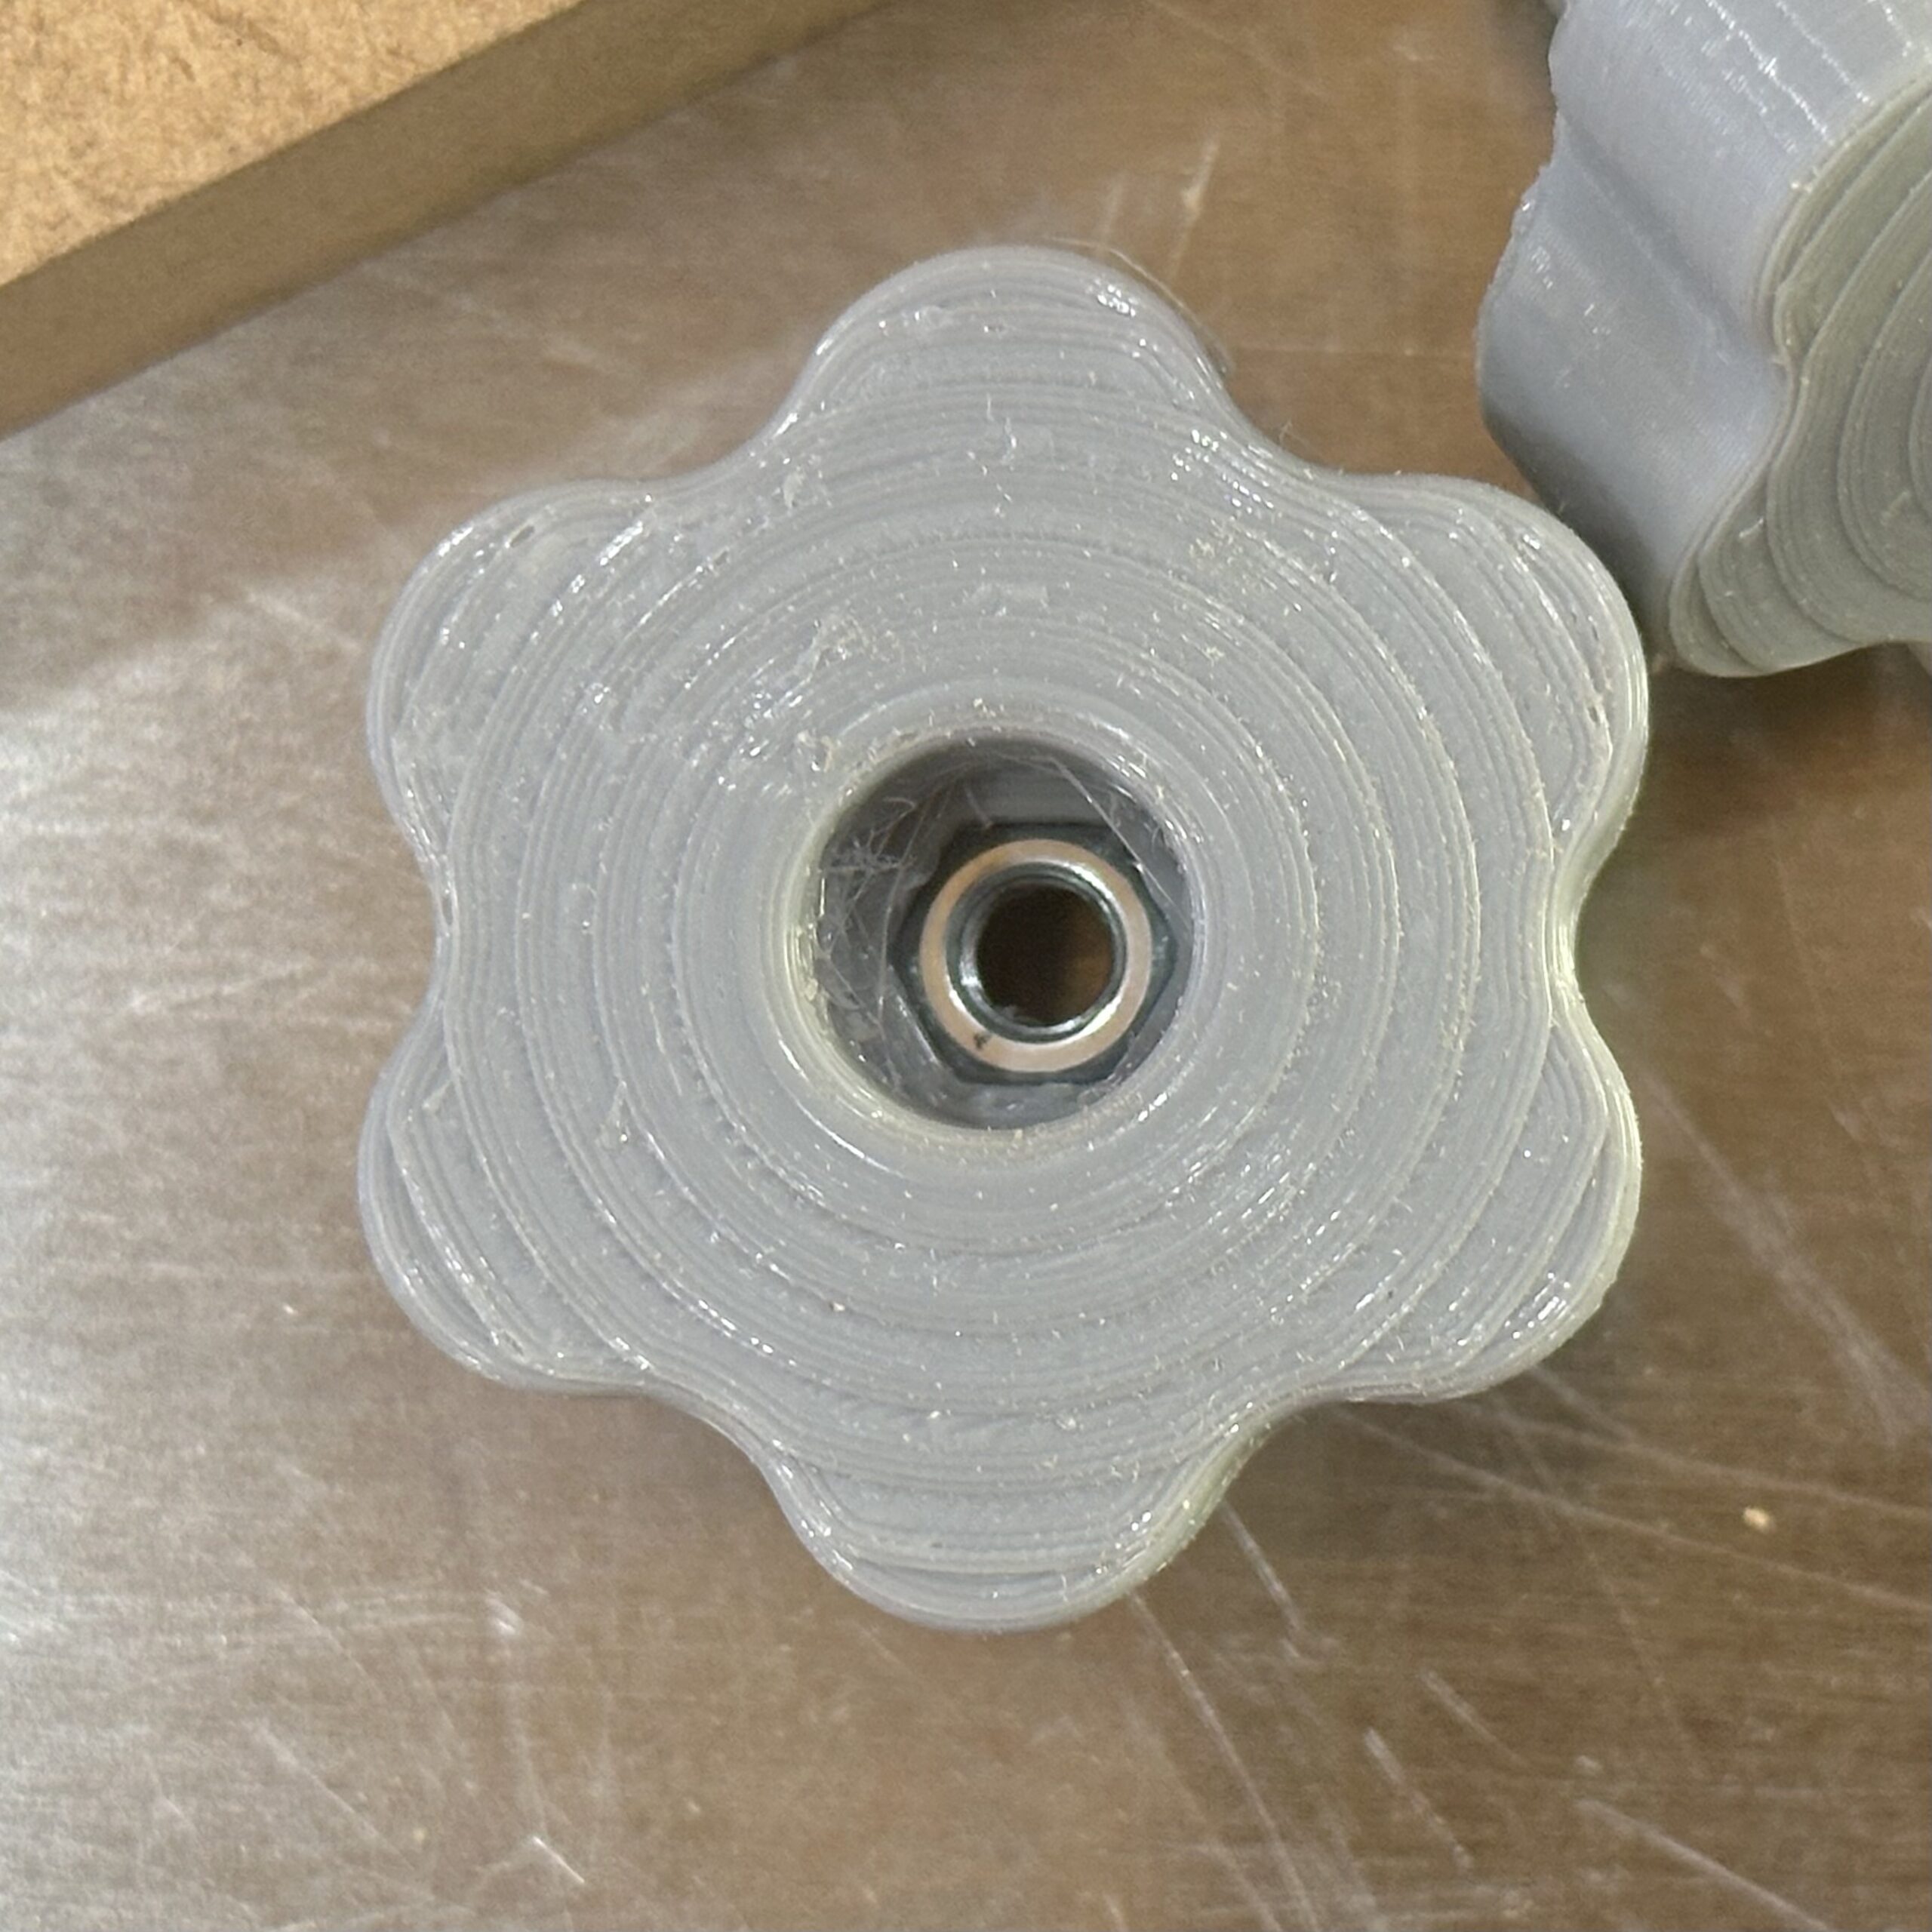
All I needed was a way to lock the fence into position, and that required printing some dovetail nuts, simple 1-1/2″ long plastic pieces of dovetail with a hole to accept an M5 bolt. Finally, I needed a pair of knobs that fit the M5 bolts. I didn’t find any locally so while I was printing the dovetail nuts, I also designed these knobs to accept matching M5 nuts.
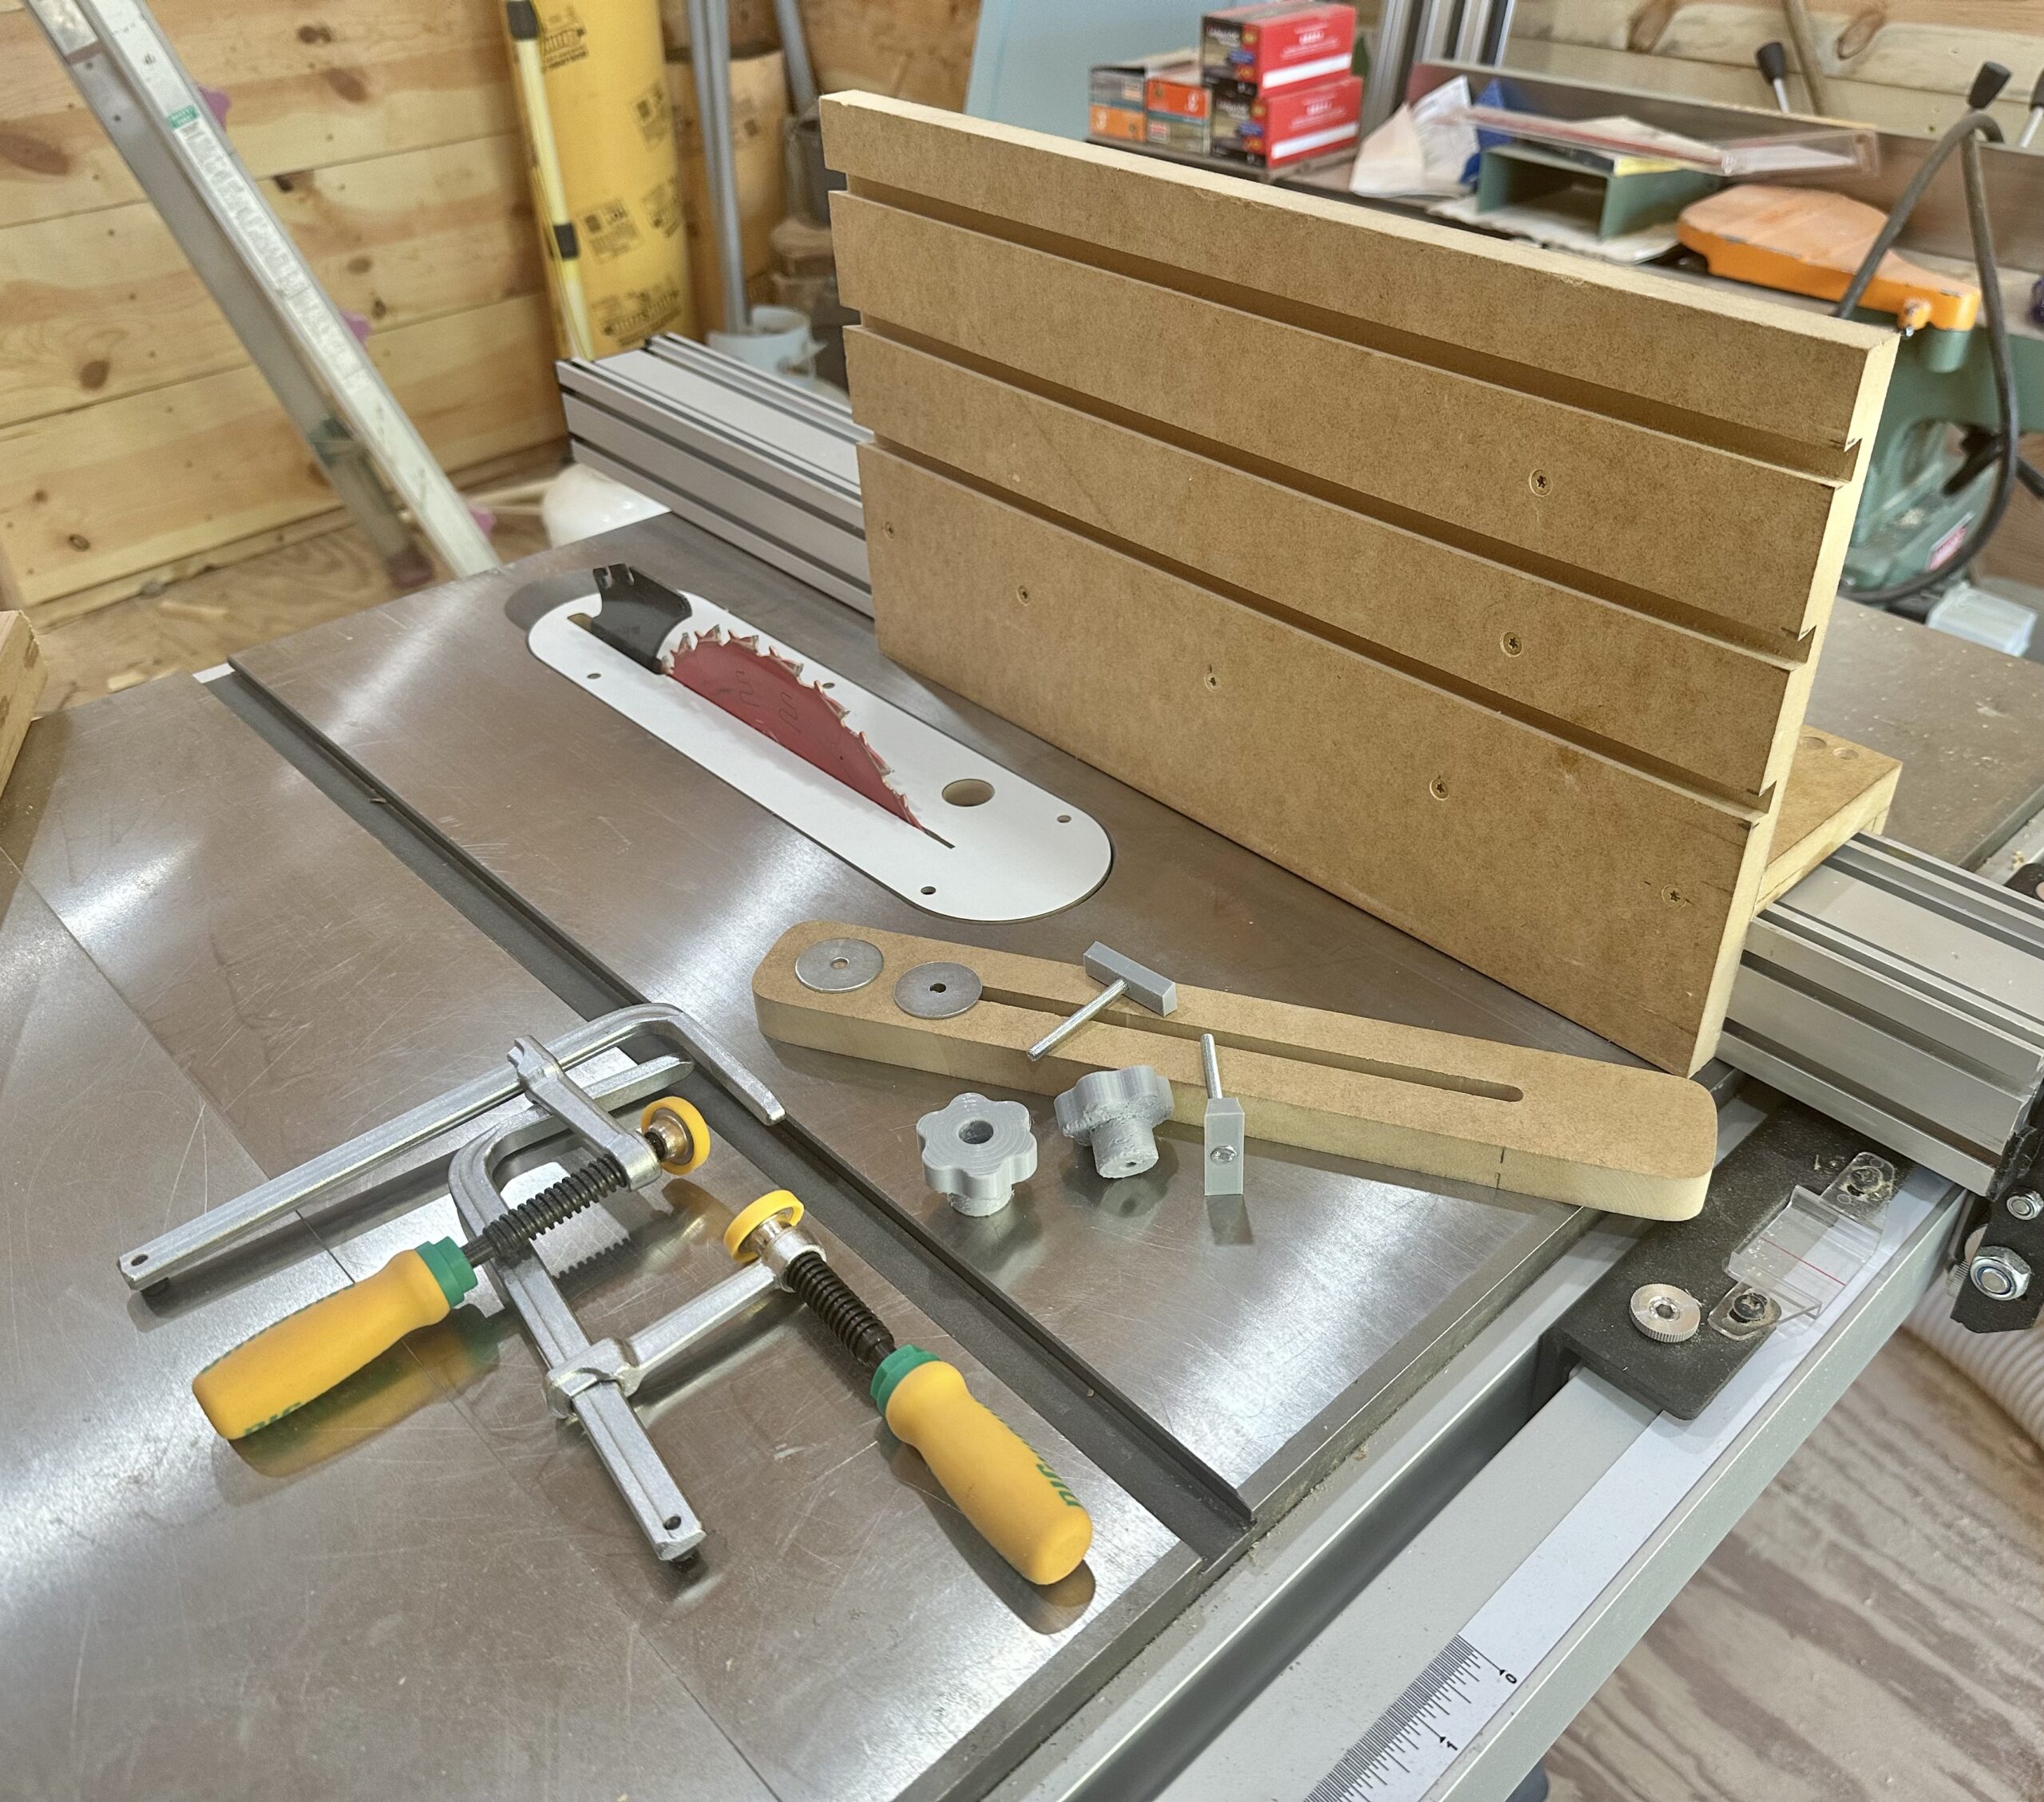
Shown below are all the pieces for assembling the jig.
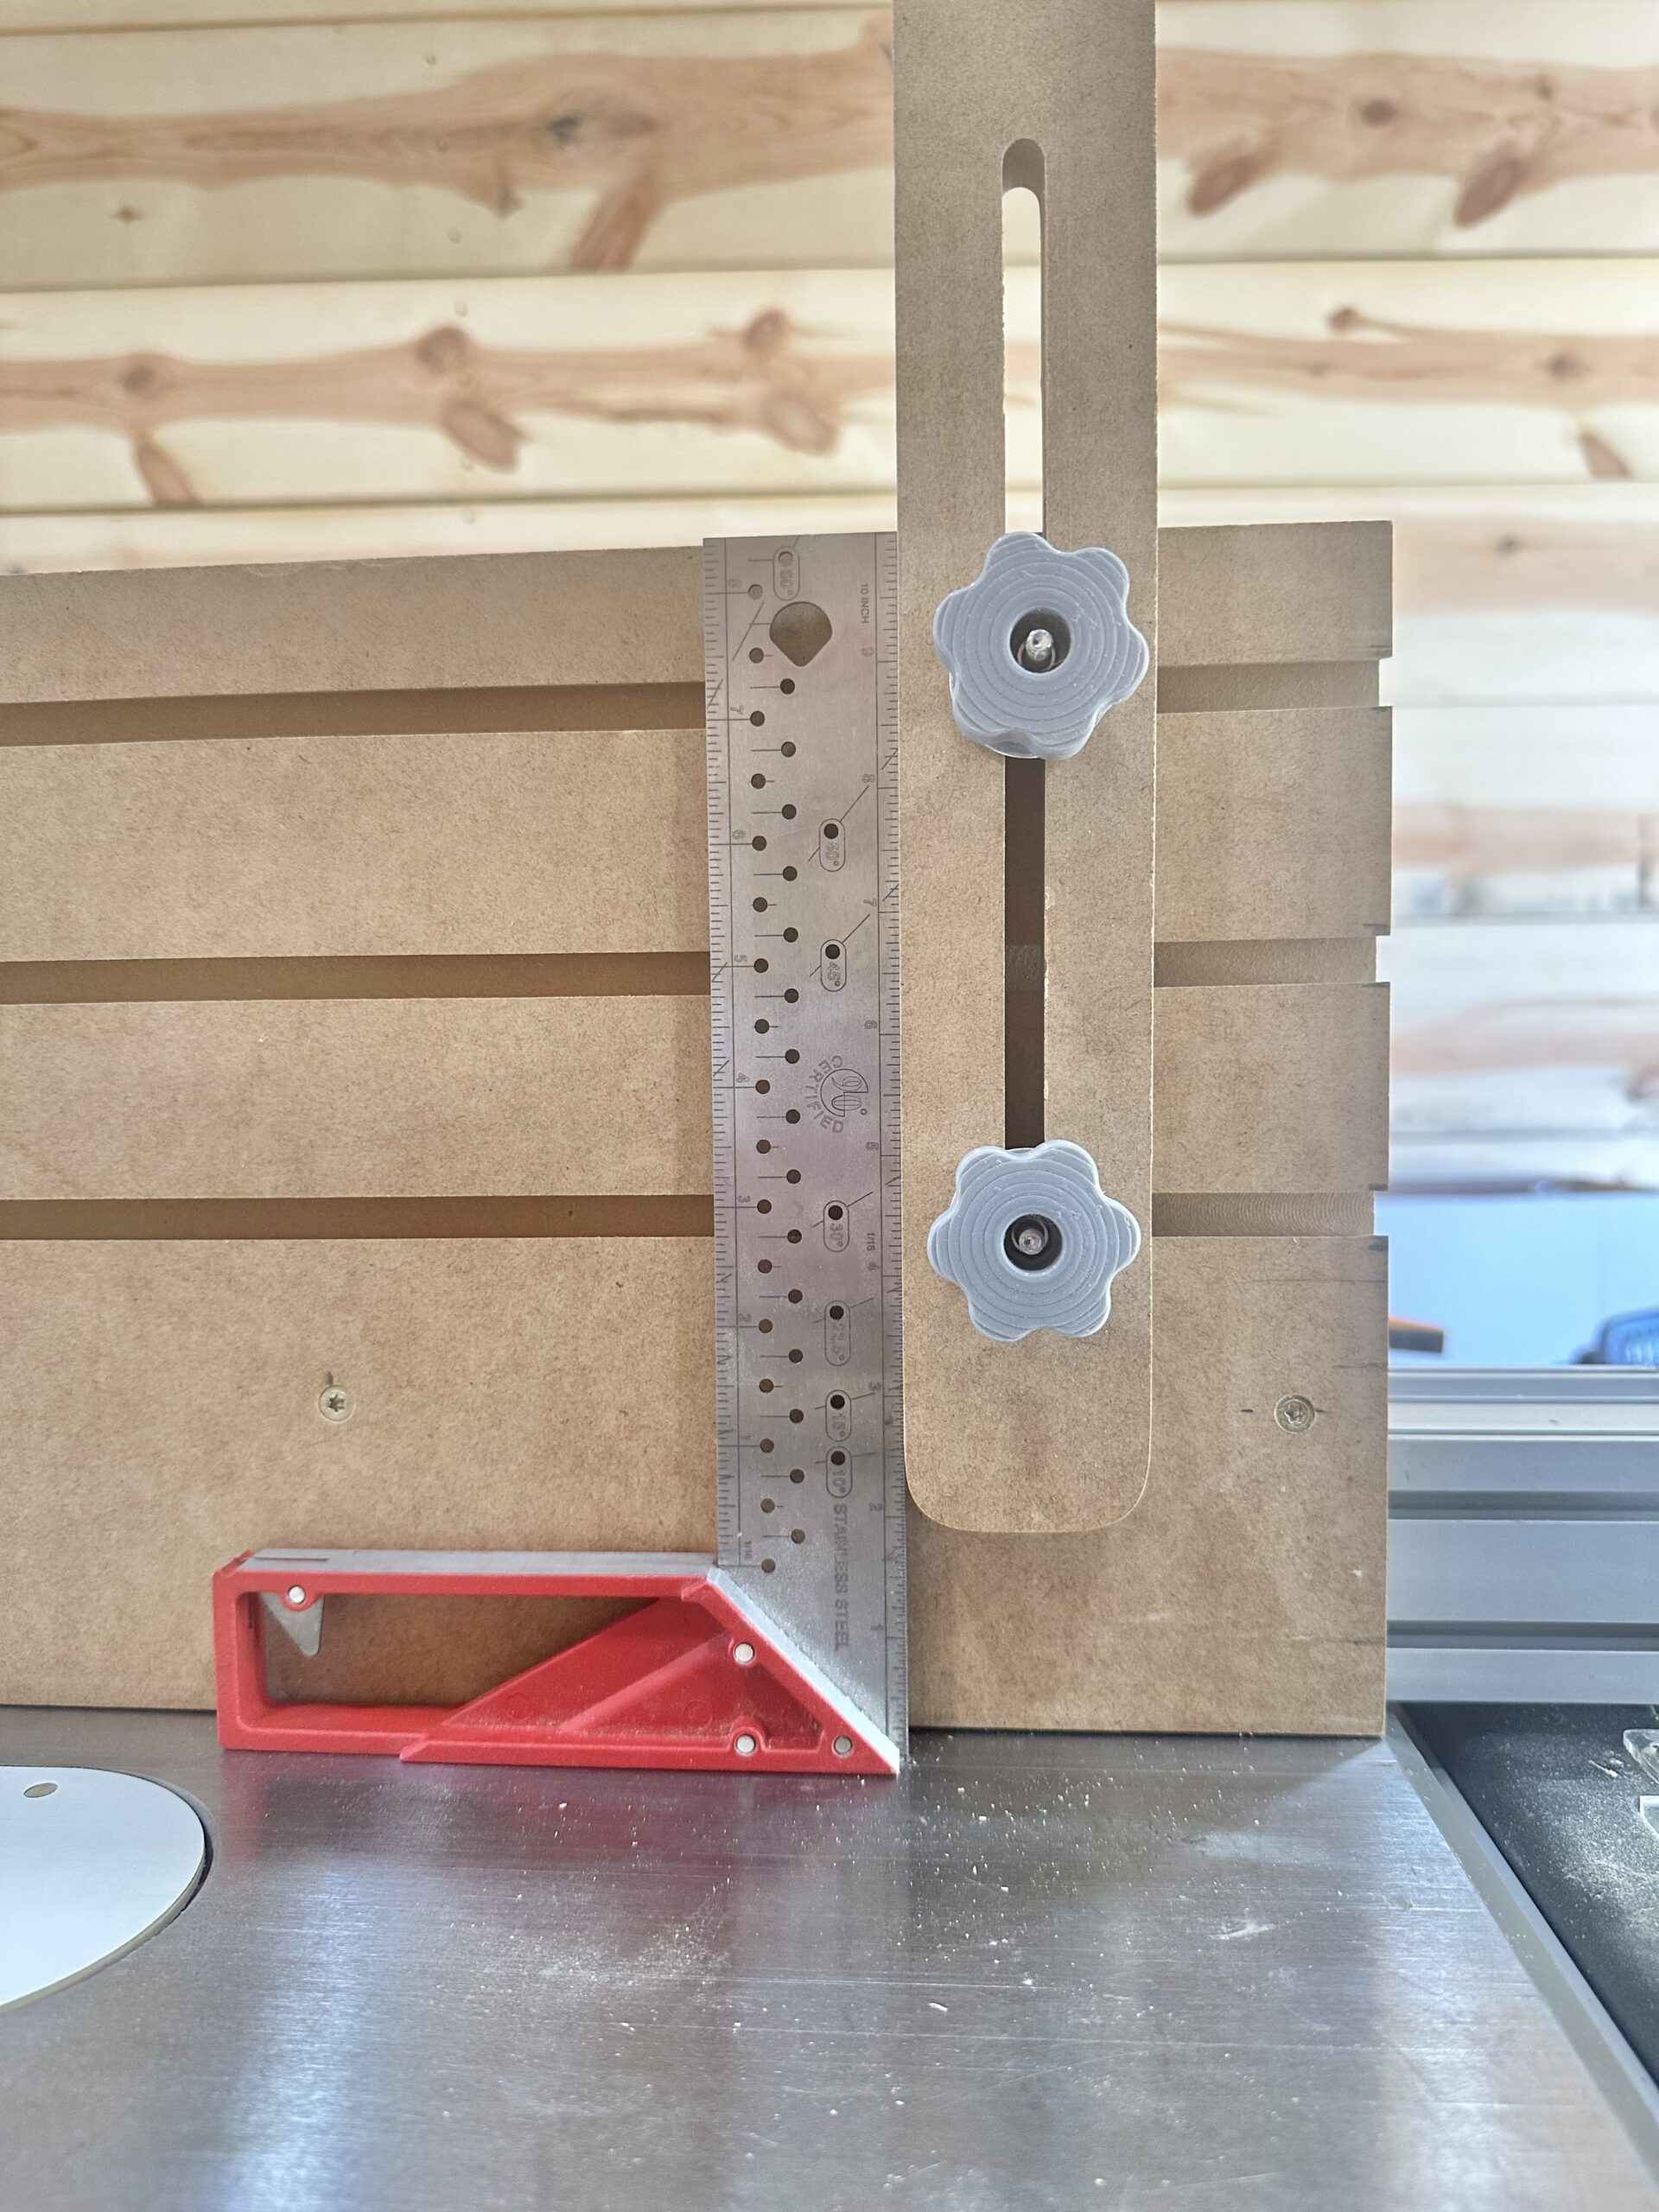
Now to use the jig, all you have to do is tighten down the fence at the desired angle. Here I’m using a square to set it up for 90º.
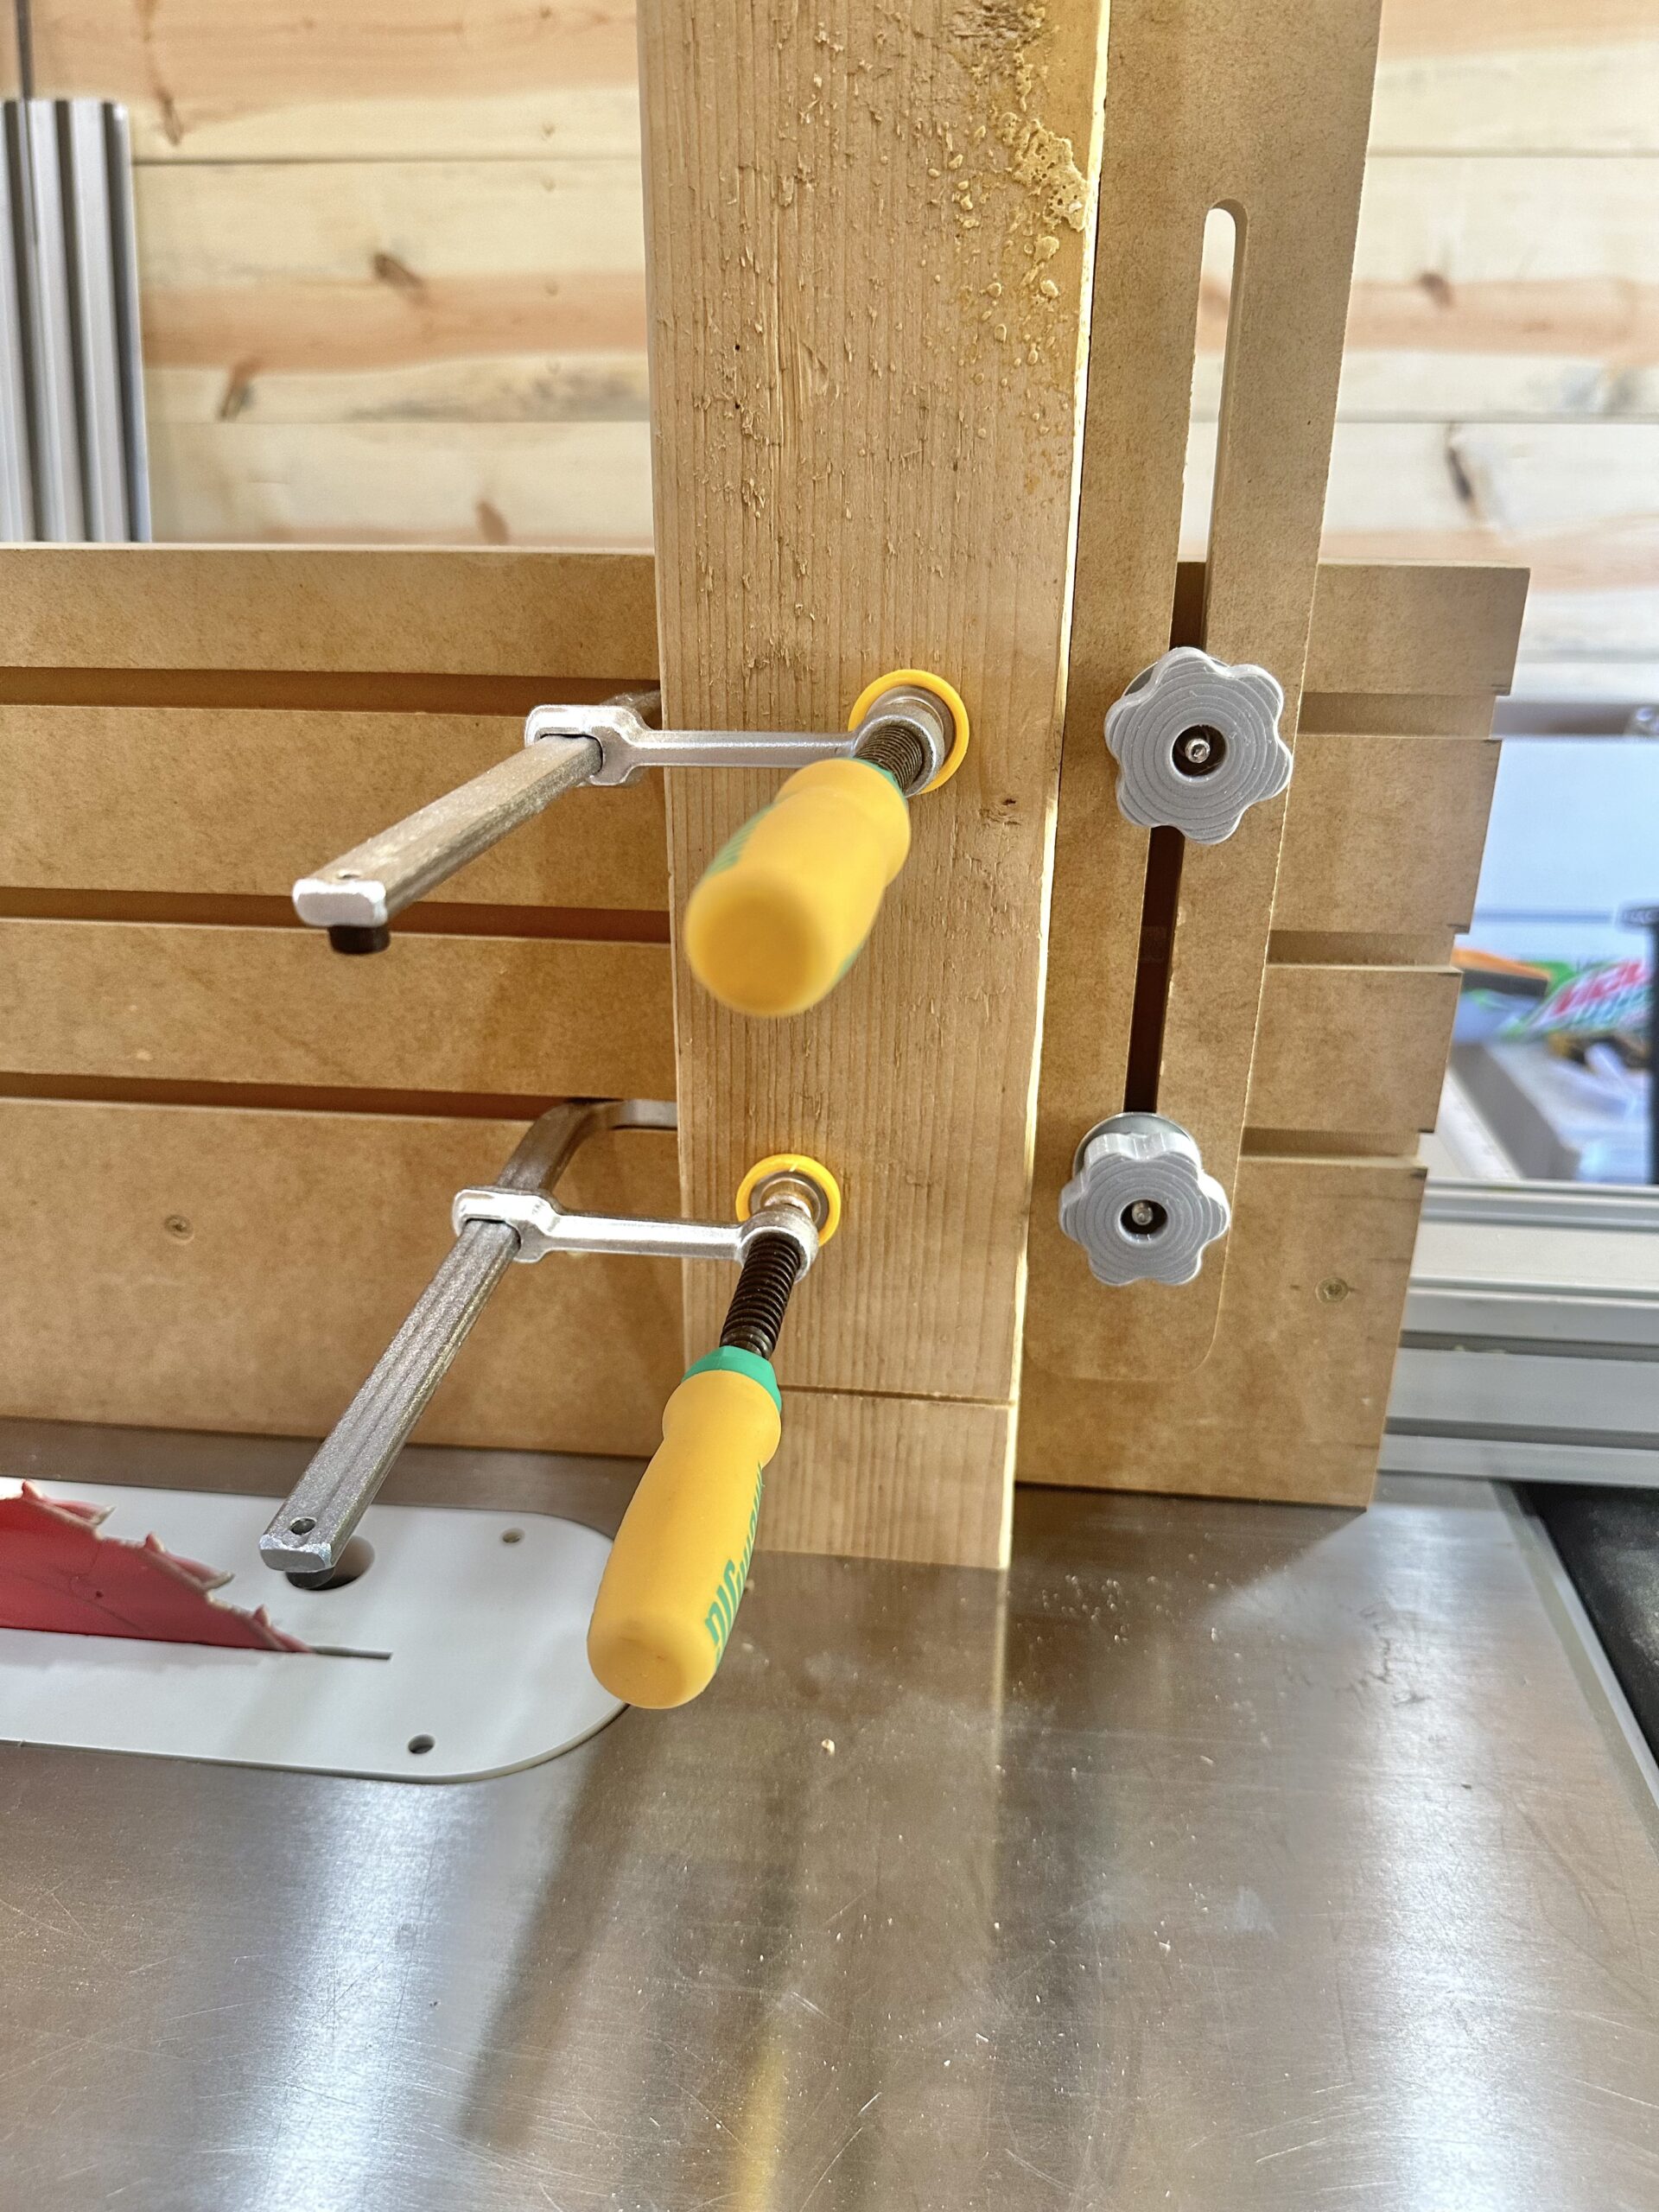
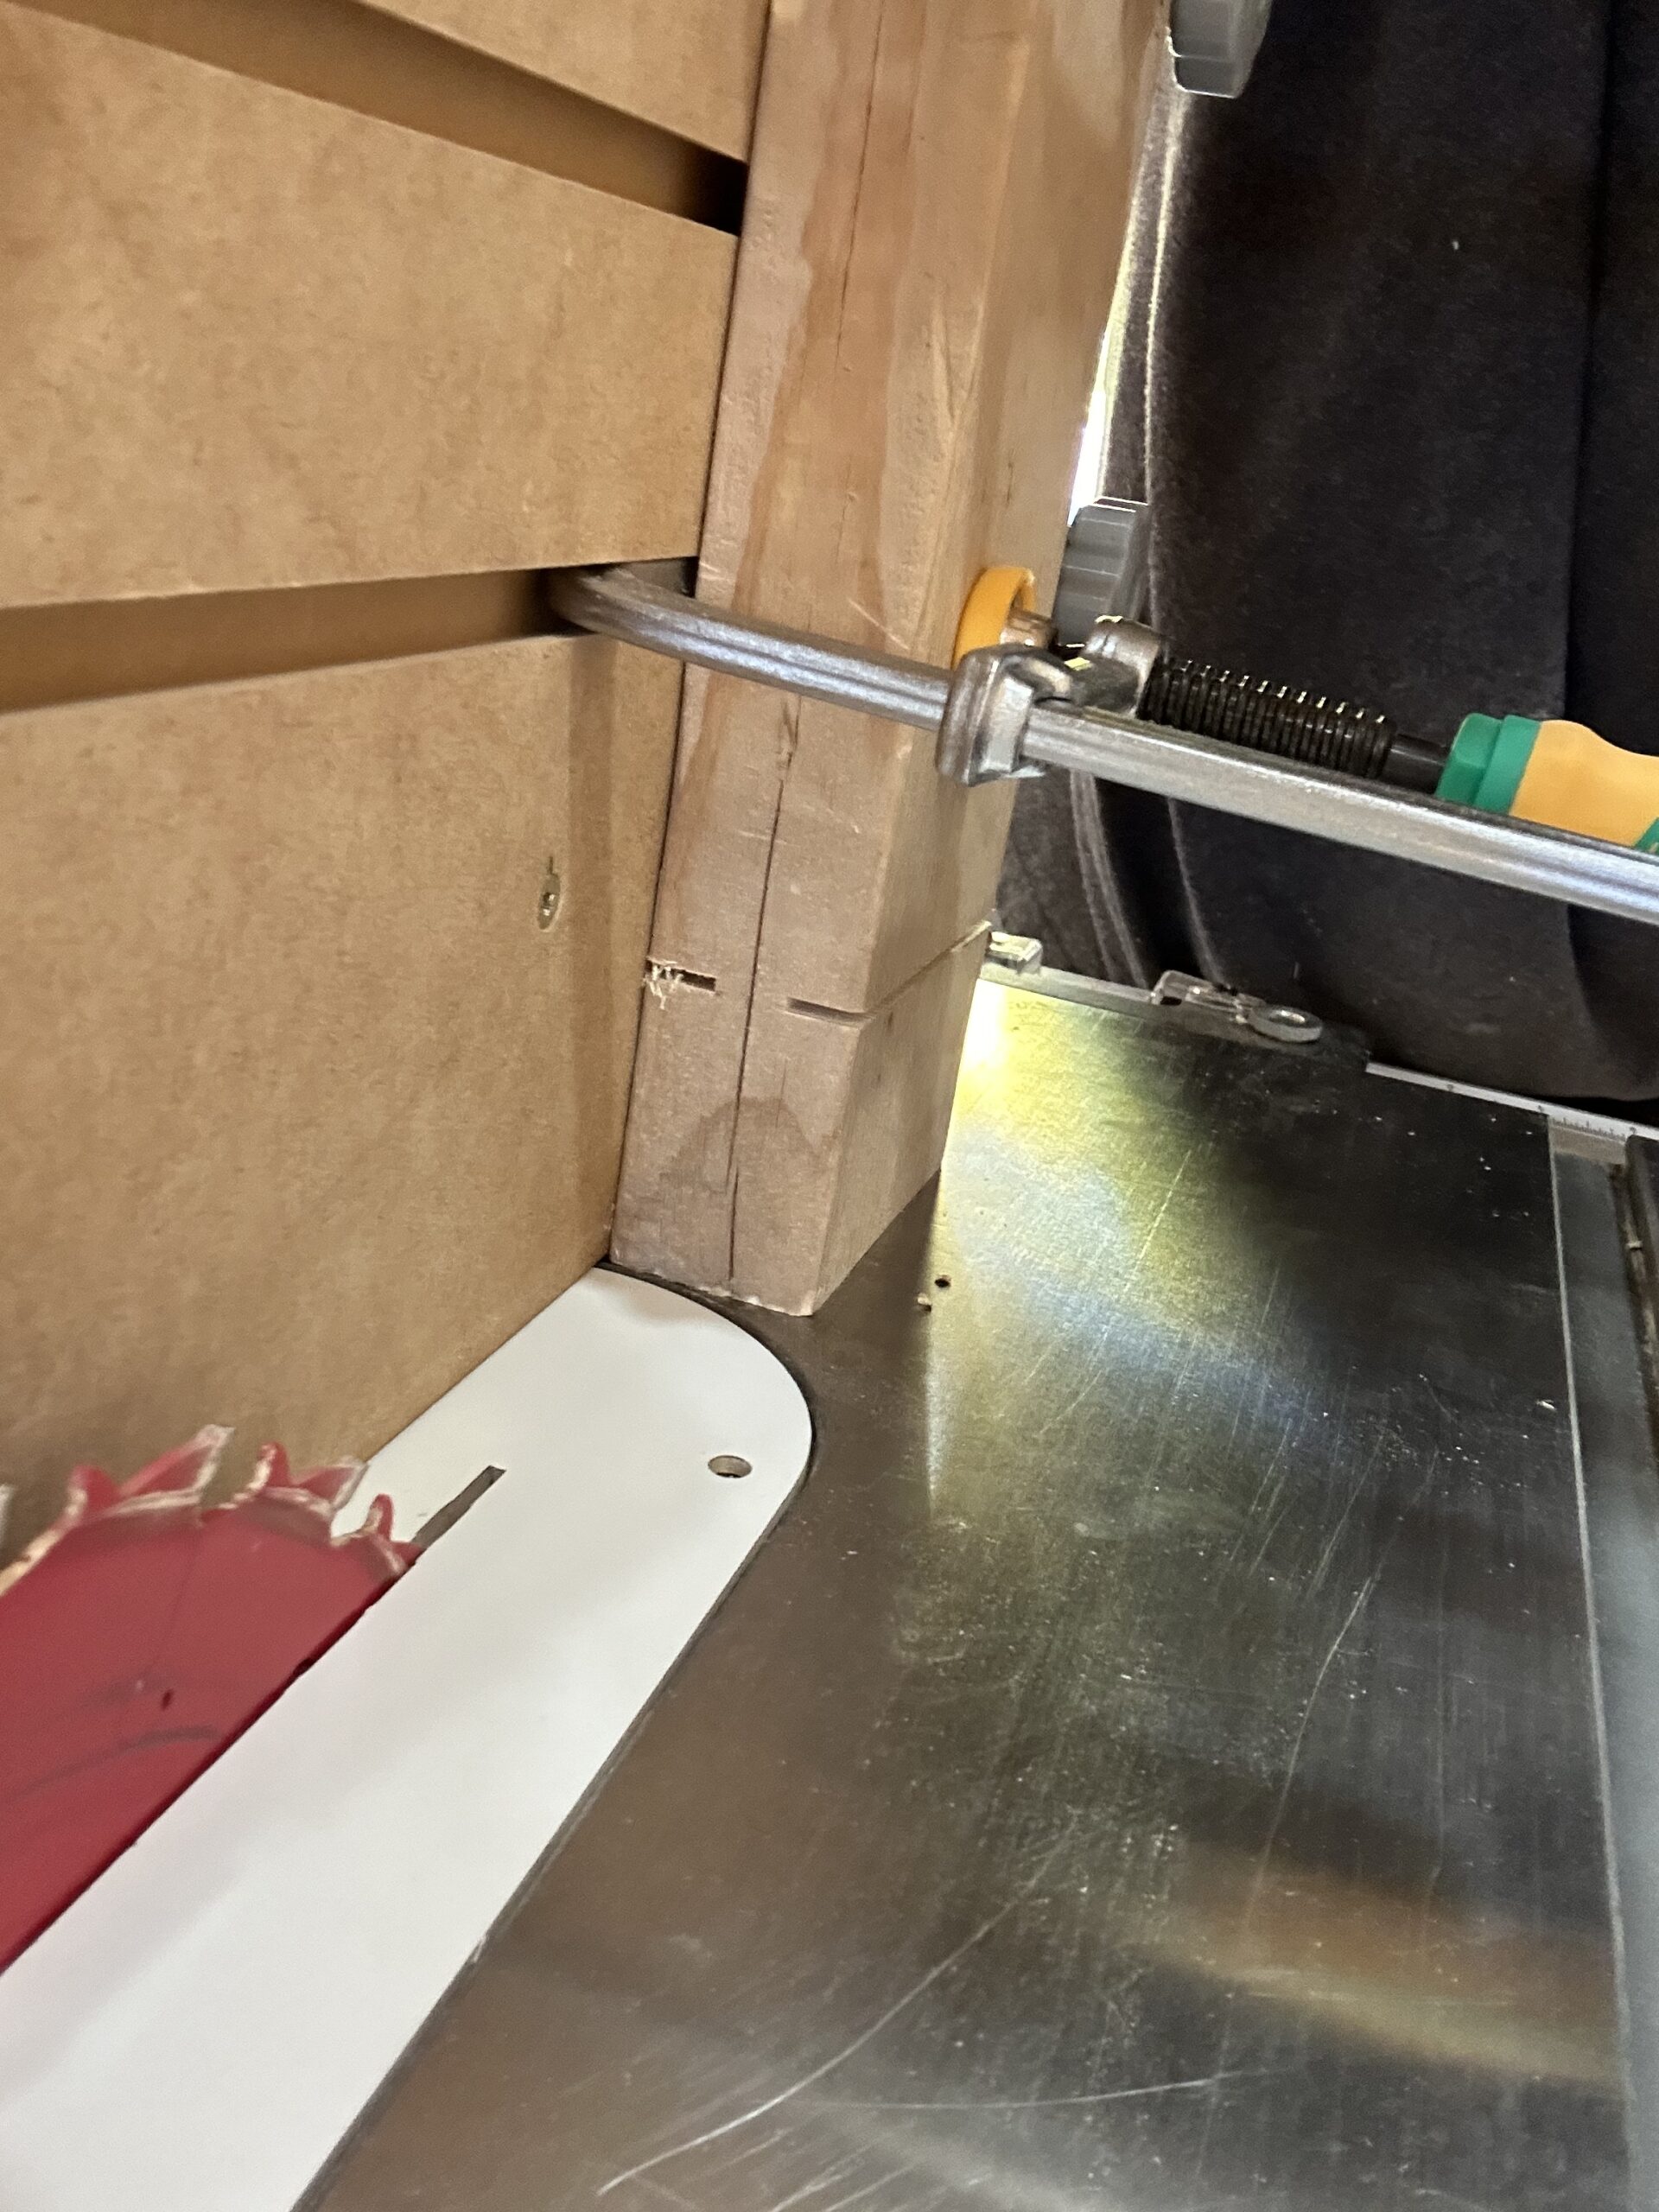
Next, clamp a board in place using the slot clamps and set the saw blade height to the desired tenon length. Finally, move the table saw fence and jig to the desired tenon width.
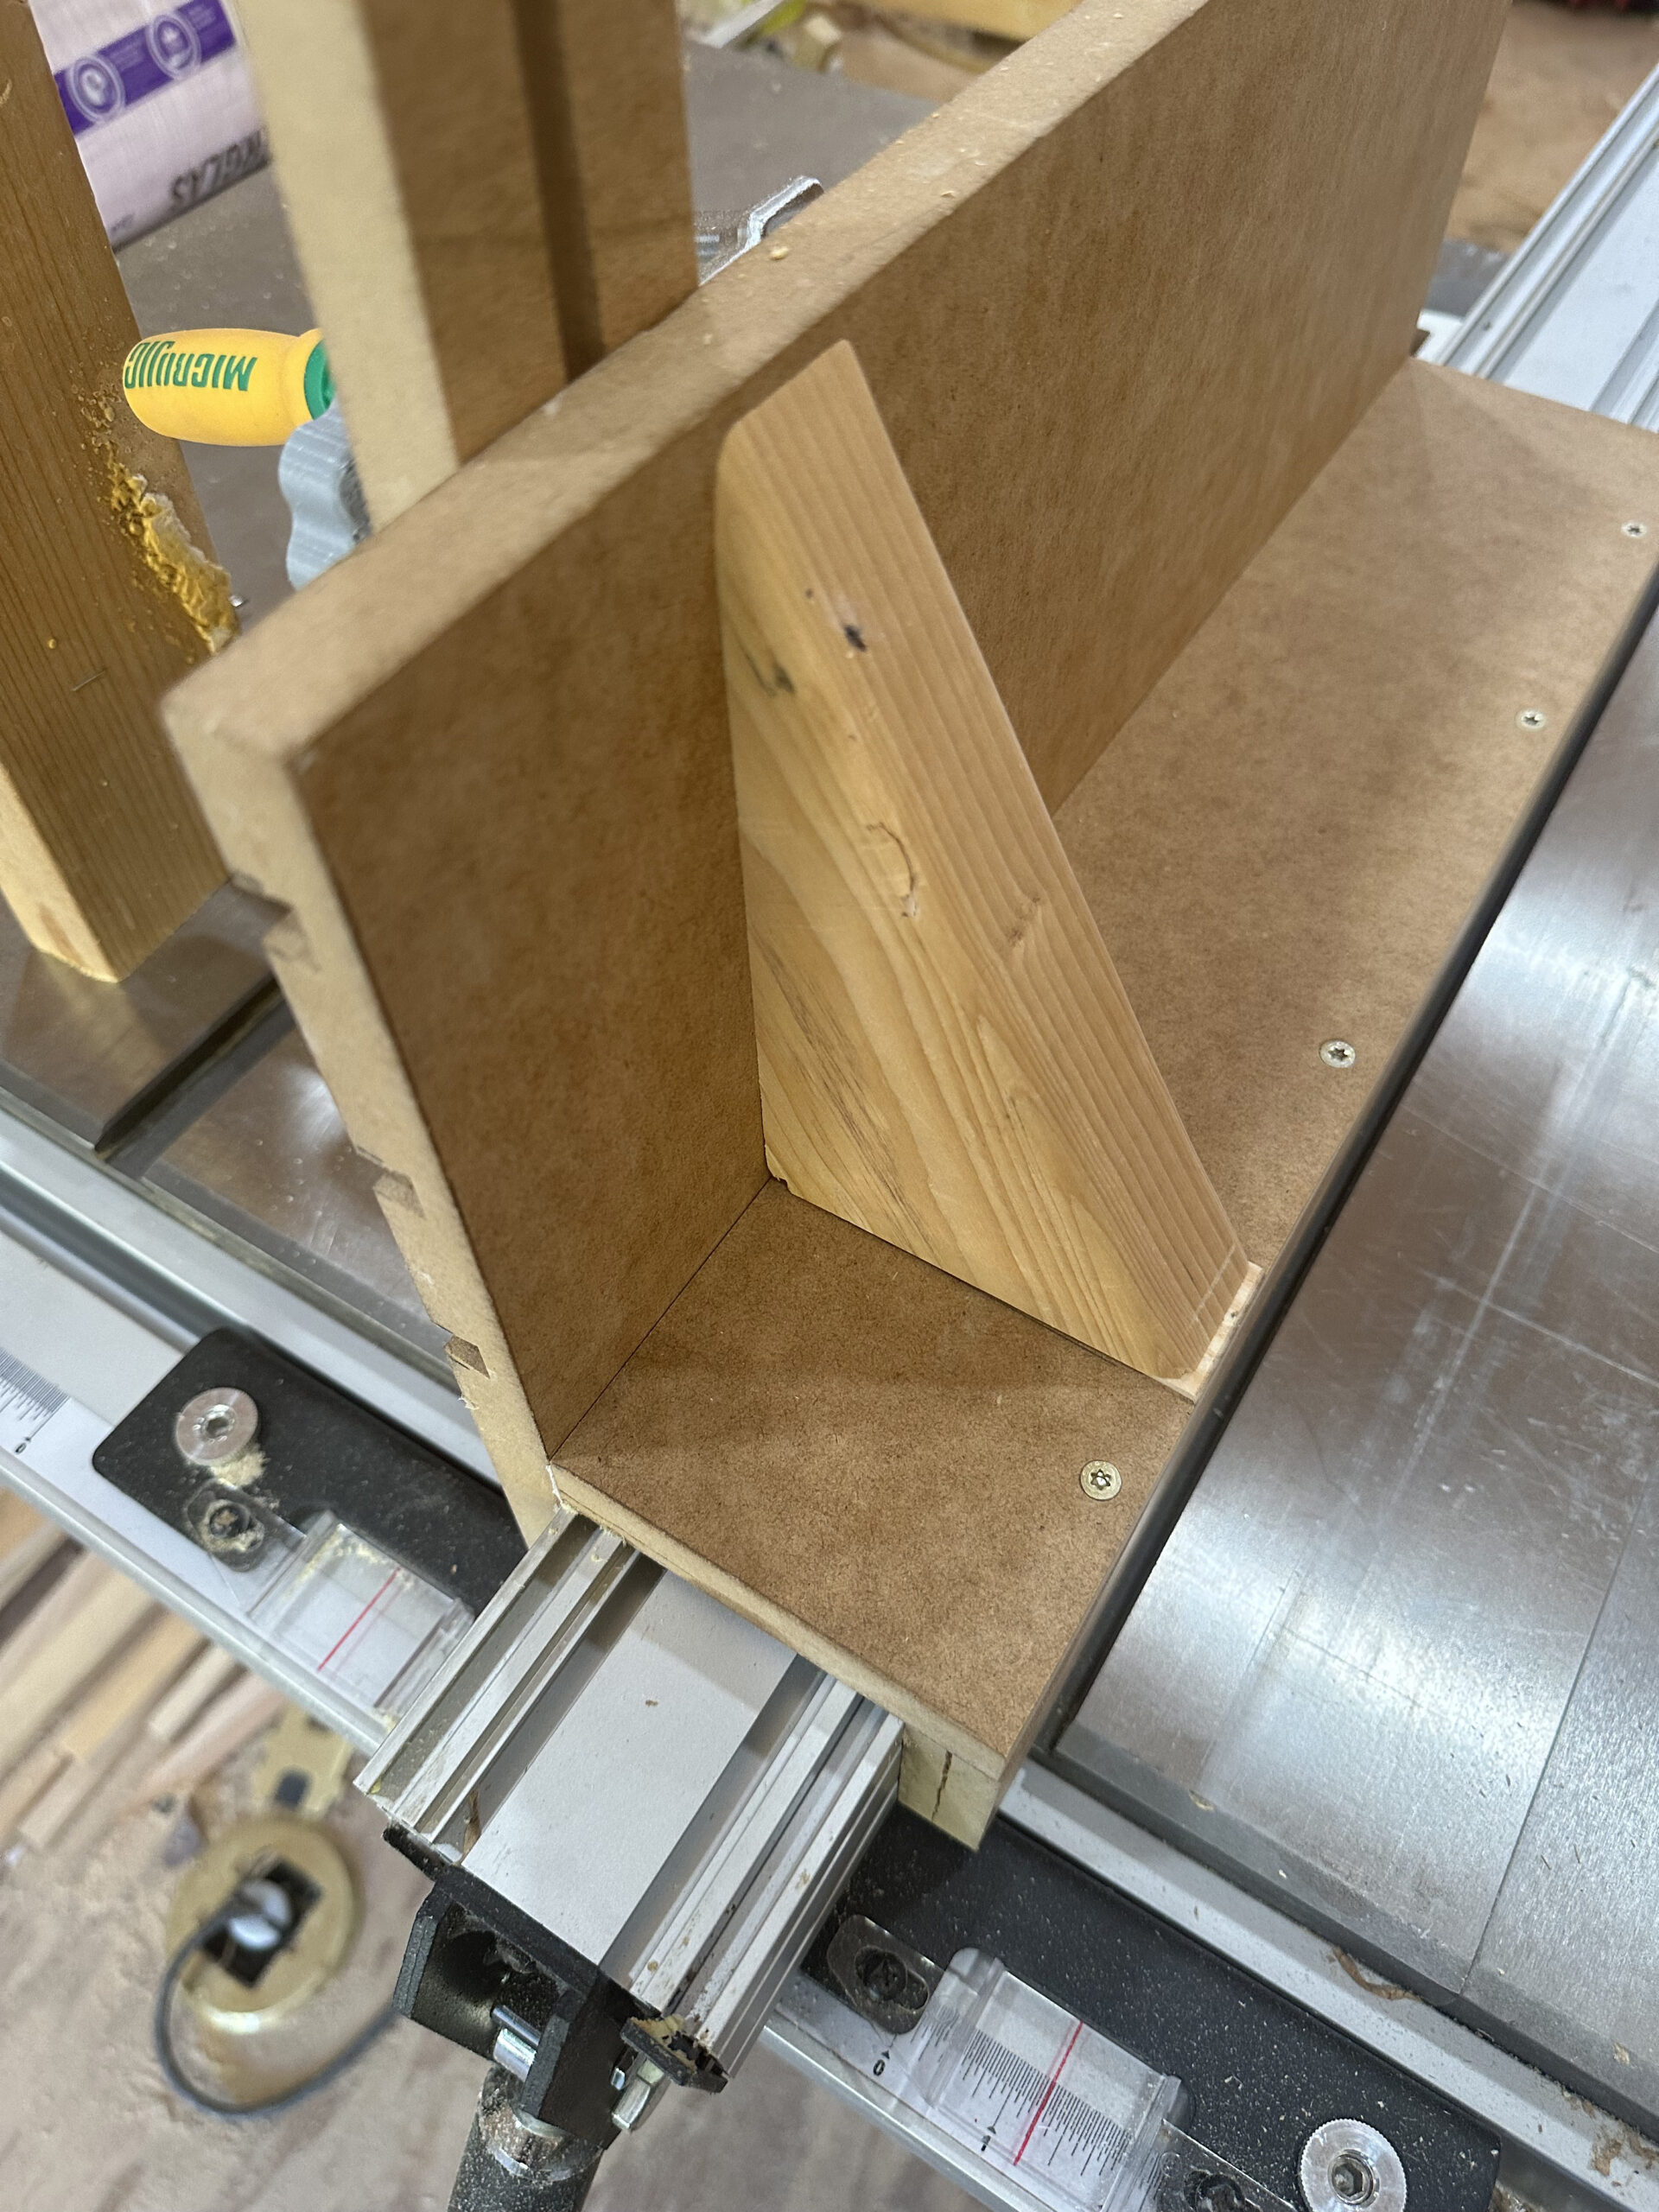
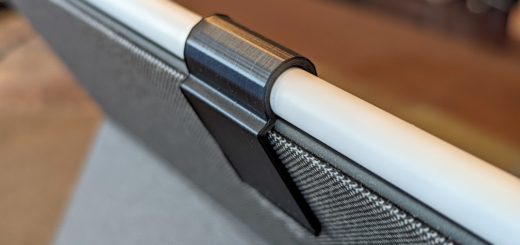
One feature I added at the end was a simple 90º triangular piece to act as a hand-hold. This makes it easier and safer to push and pull the tenon jig during use.
If you don’t have a 3D printer…
Micro Jig sells a pair of clamps with a set of dovetail nuts and knobs if you don’t have access to a 3D printer. It is a bit pricey but saves you the extra hassle of printing and cleaning up the plastic parts. You could also save money by purchasing a simple T-slot cutting bit and using any brand of slot clamps and readily available T-slot bolts. In my case, I already had the clamps and printing out all of the pieces required very little effort.

Recent Comments