Custom Chevy Bolt Crossbars on the Cheap
I need a pair of crossbars for my Bolt for hauling the occasional long boards from the home improvement store and for carrying my bicycle around, since I already have a rooftop bicycle rack from a previous vehicle. The problem is that GM does not yet make a set of crossbars for this vehicle despite the fact that it comes with side rails with 6mm threaded mounting holes for such a thing.
You basically have two choices when it comes to purchasing an after market product. The first is a Yakima setup. This requires the purchase of their SkyLine Towers 4 Pack, the matching Landing Bad 19 base set, and a pair of their smallest sized Jetstream aerodynamic bars. After some searching, the lowest price I was able to find this set is a whopping $570. After spending so much money you’d be left with a product that definitely screams “after market.”
[source: http://www.electricvehiclewiki.com/]
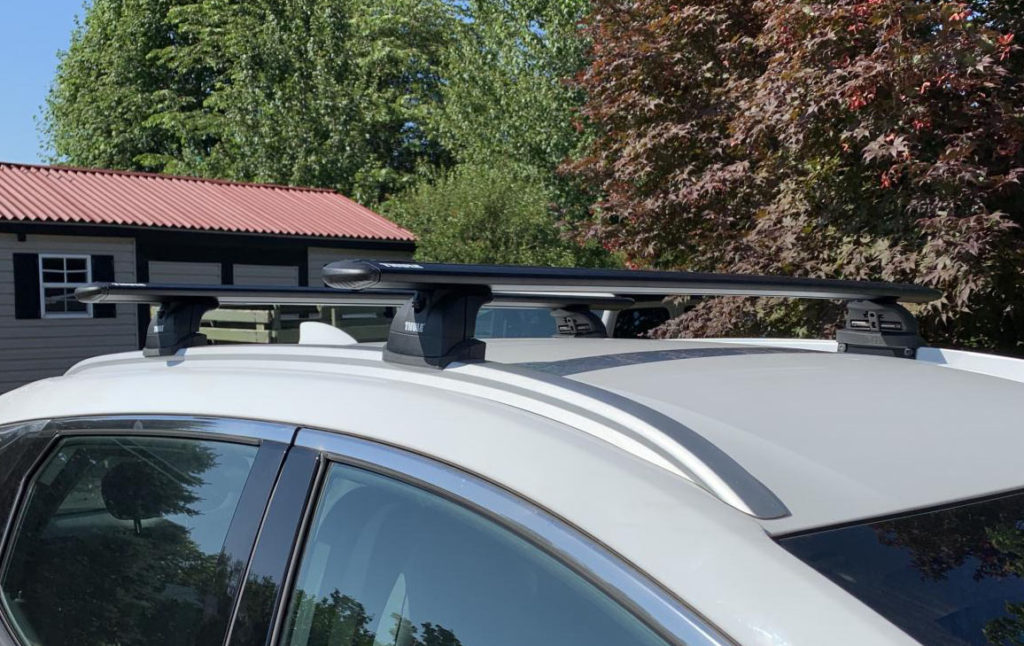
The other alternative is a similarly pricey setup from Thule. These are sold as kits with everything included: Thule Podium aerobars, footpads, and all hardware. The best price on these I could find was $560. They look very similar to the Yakima units.
[Source: the forums at Chevybolt.org]
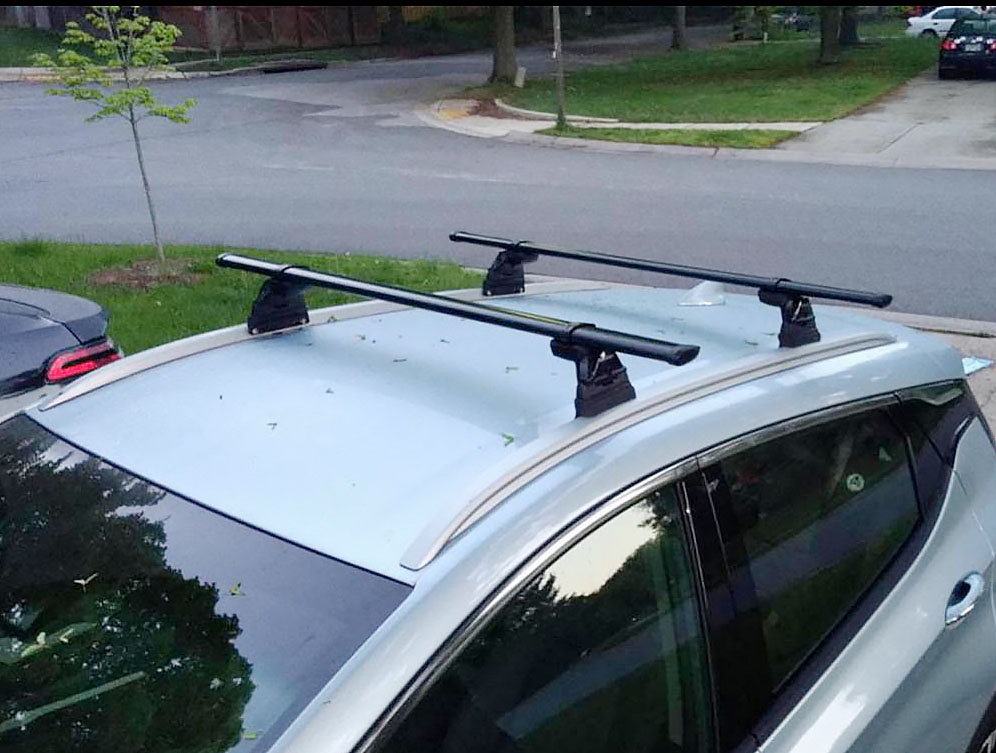
Fortunately, several people in the /r/bolt subreddit noticed that the spacing between the holes on the Bolt side rails exactly matched those of the Cadillac XT5. Moreover, GM made a custom set of crossbars for that SUV—which retail for $140! After reading one redditer’s post about purchasing the bars and simply cutting them to fit the Bolt, I decided to go for it. I looked up the GM part number and found them on Amazon, $140.
The bars arrived yesterday and came pre-assembled. I put one in place on the Bolt and measured how much needed to be removed. You can see just how wide they were originally. The mounting holes did line up precisely with the bases, however.
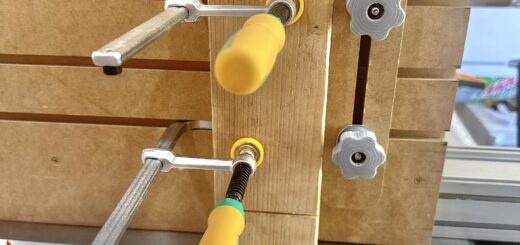
Reports from three different people who had already done this hack gave three different measurements for the amount to remove, between 85mm and 95mm. So I grabbed my trusty machinist’s ruler and measured it out, about 86mm. After marking one end, I simply cut it with a hacksaw and then used a file to clean up the edge. A test fit showed that it was too snug to put into position without squeezing the protective rubber gasket separating the side rail from the base, so I removed another millimeter or two with a grinder. That gave a perfectly snug fit. For the second bar (front) I simply cut 88mm to begin with and after cleaning up with a file, it fit perfectly snug as well. If I had to do this again, I would cut 88mm from each bar.
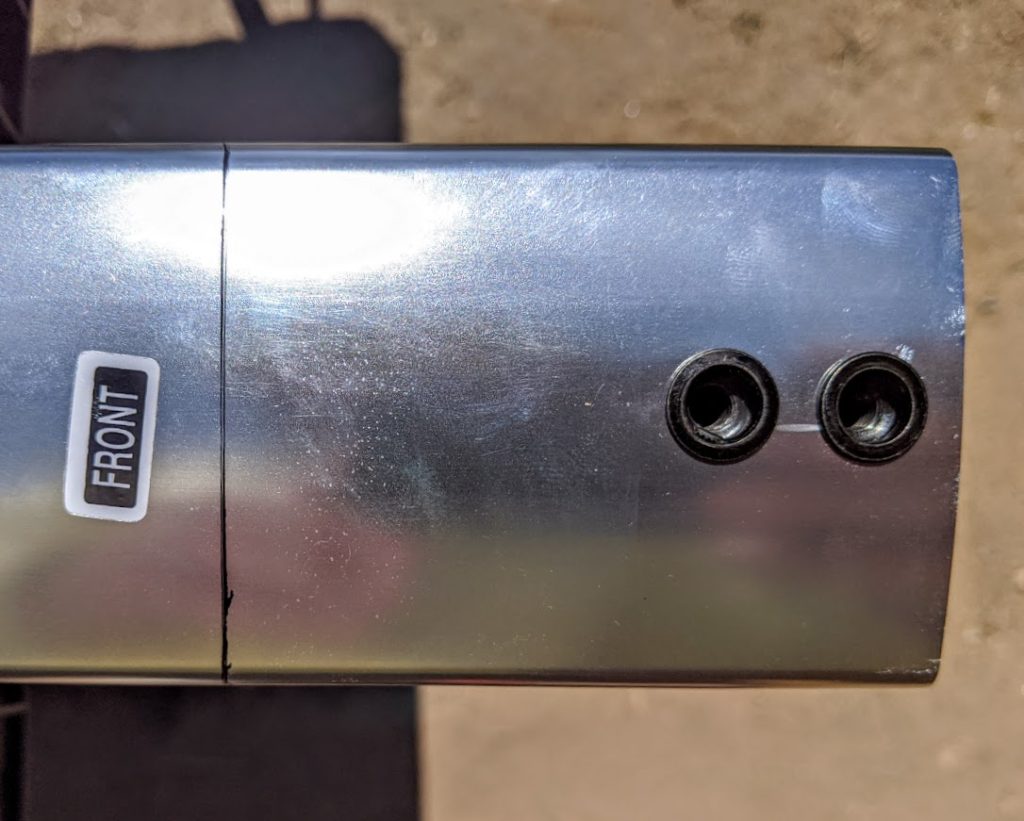
86mm 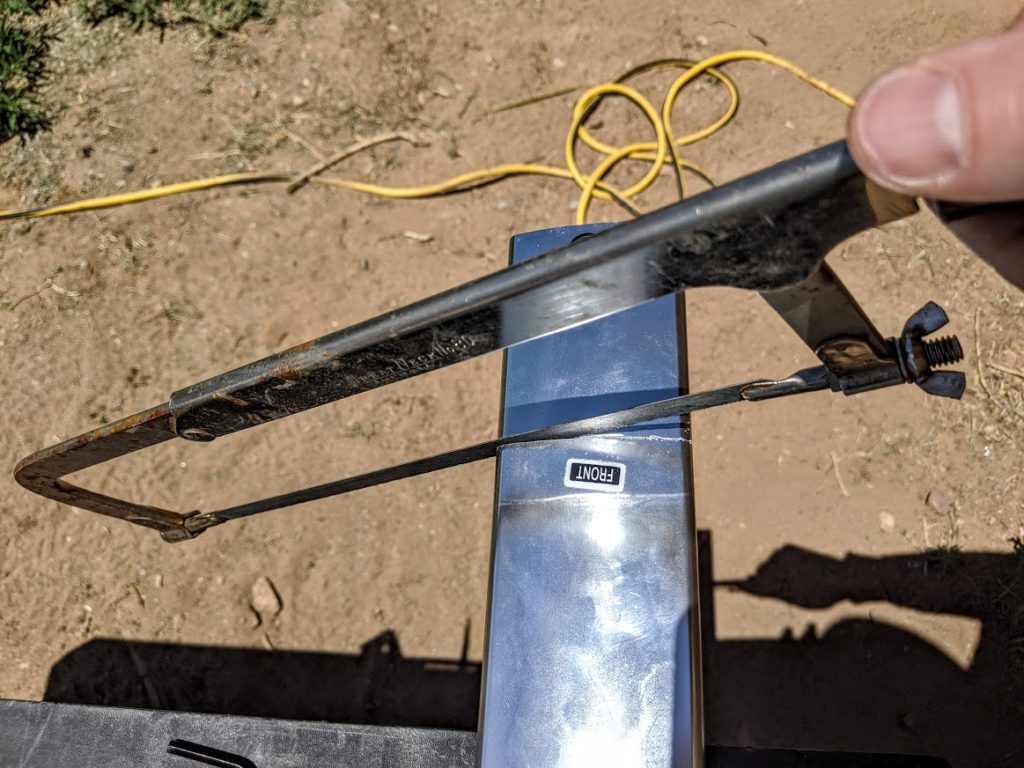
Cutting… 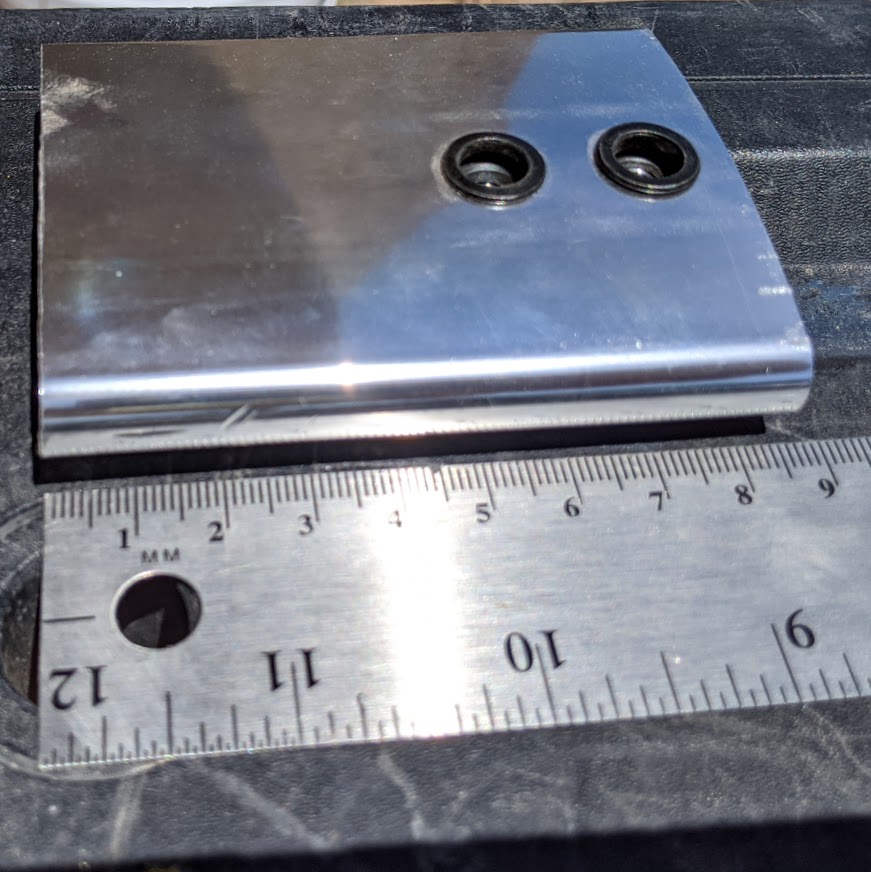
The removed bit
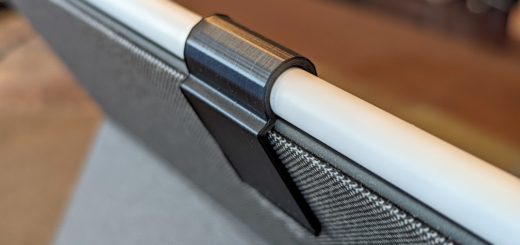
If you noticed, doing this means losing the two 6mm rivet nuts that hold the bolts for the base in place. If I had known the exact size of these bolts beforehand, I would have ordered replacement rivet nuts when I ordered the crossbars from Amazon. However, it was easy enough to epoxy a set of 6mm nylon nuts to some washers and let them set overnight. With that done, I could slide the base in place and mark the locations for the new holes, which were drilled out with a 1/4″ bit. Attaching the base is a bit tricker but is easy to do by pulling back the rubber gasket that rides along the top of the bar and using a paint can opener to hold the nuts/washers in place while tightening the bolts. The rubber gasket easily slips back into place even with the base installed and tightened down.
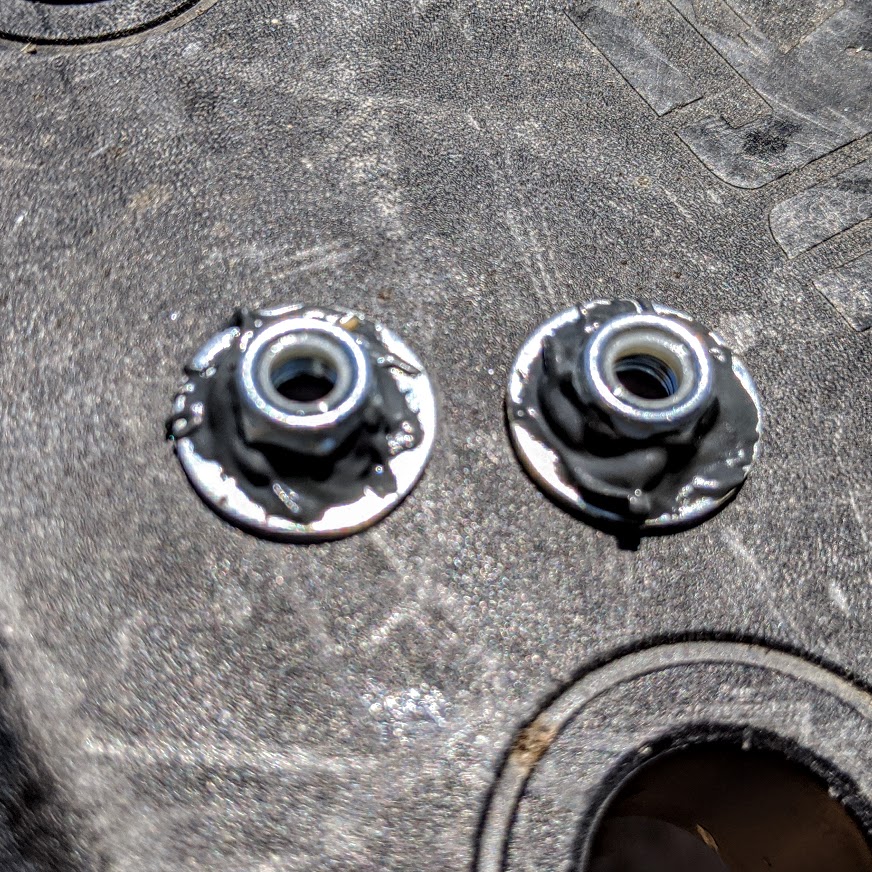
Nuts bonded to washers 
Marking for new holes 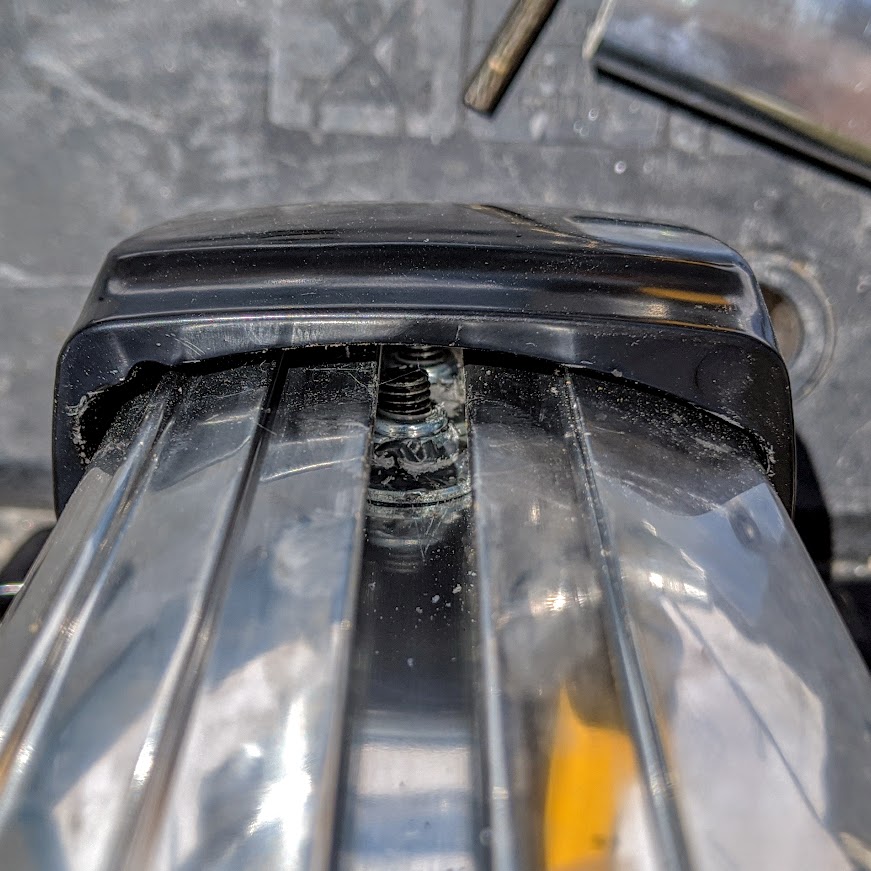
Base reattached
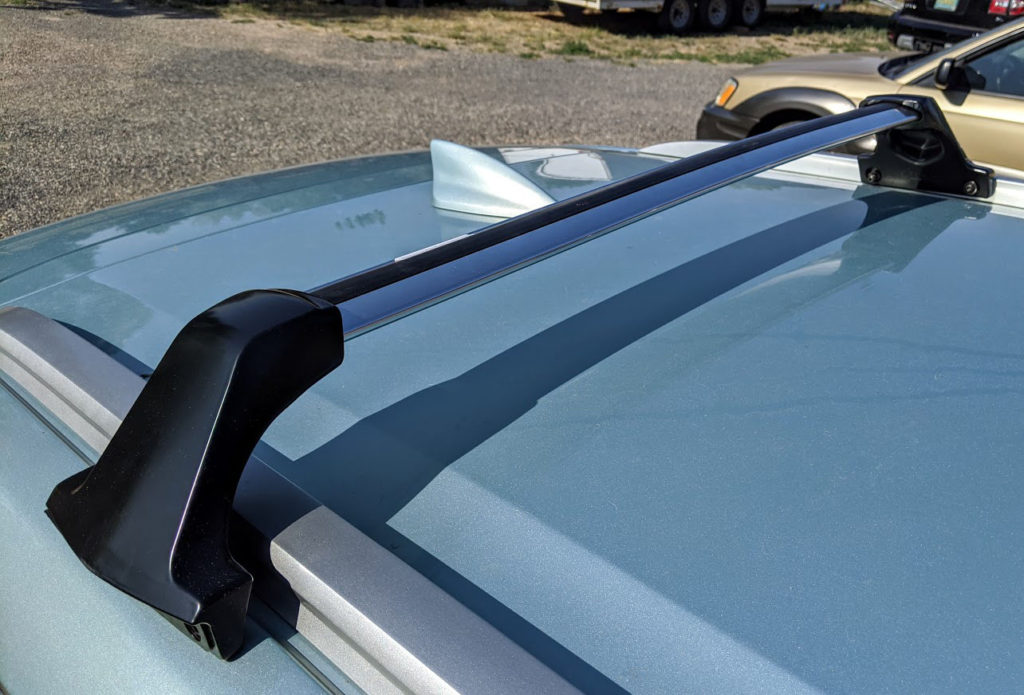
And that’s it. Removing two bolts for each base, sliding off the base, cutting the bar down, and then reattaching the base is all this took. Putting them on top of the car and attaching them with the bolts that shipped with the crossbars was as easy as it gets.
Et voila!
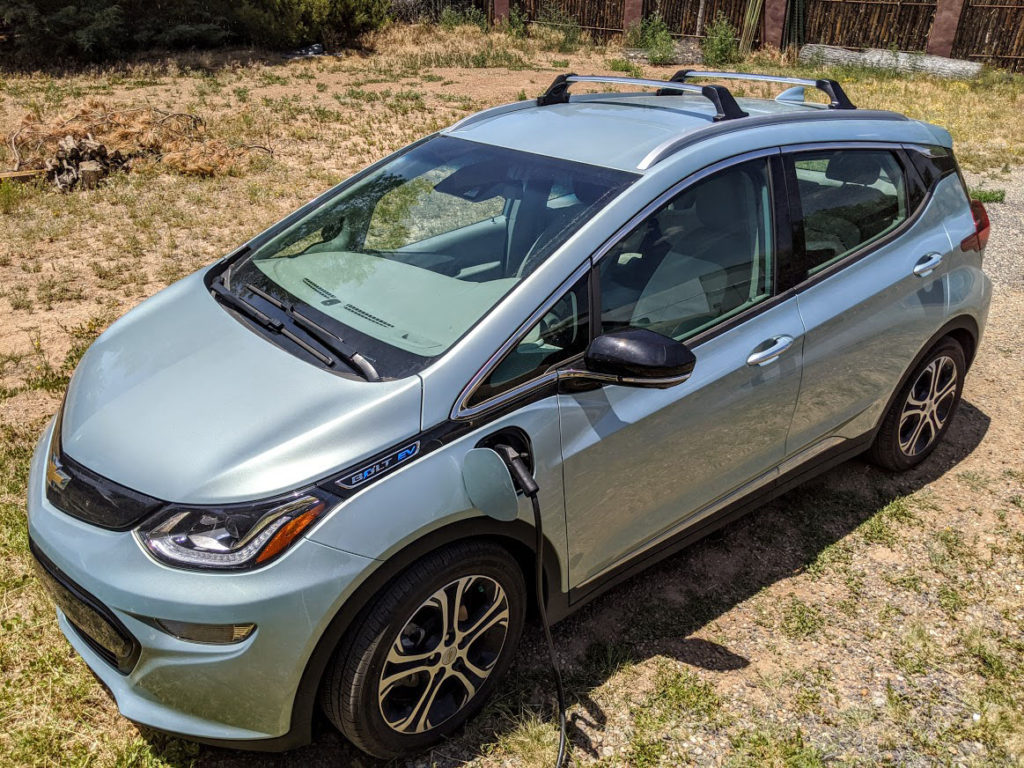
Custom Bolt Crossbars 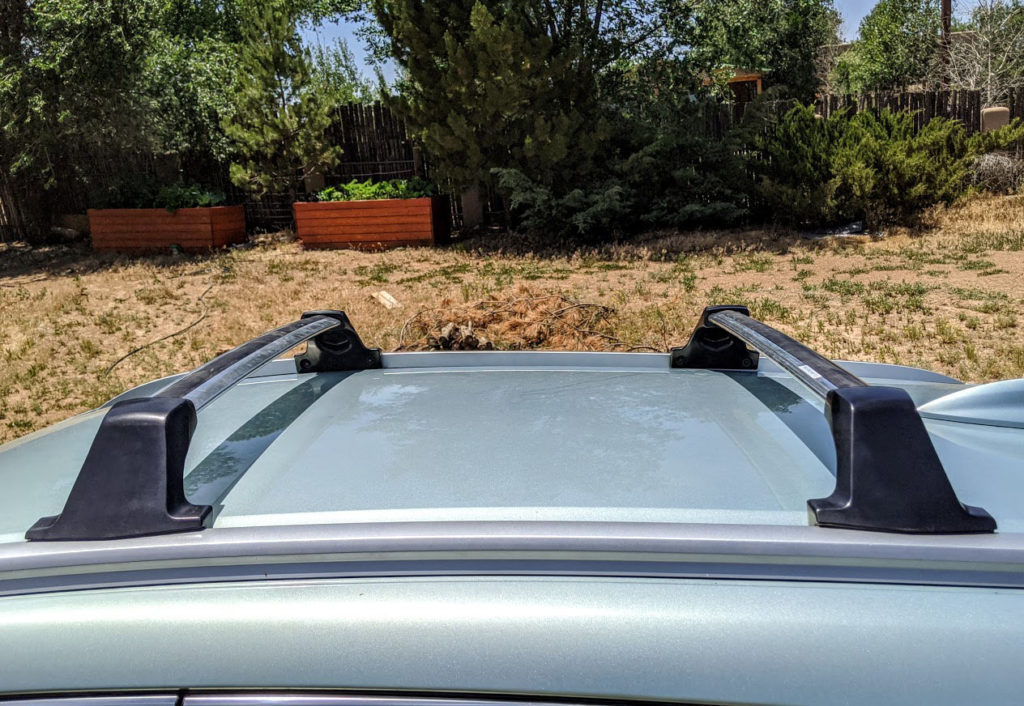
Close Up
Total cost for the project: $140 for the XT5 crossbars and $1.98 for the 6mm nylon nuts.

Recent Comments